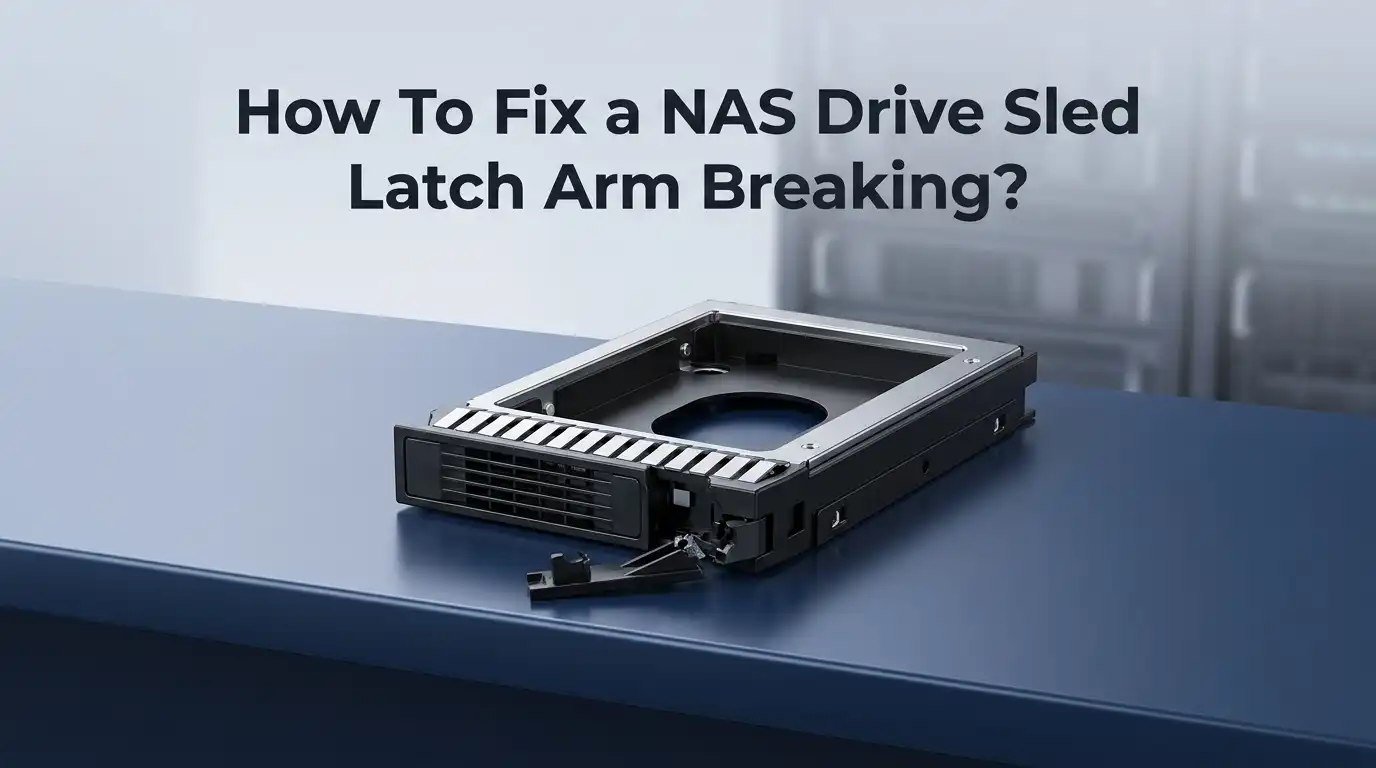
How To Fix a NAS Drive Sled Latch Arm Breaking?
A broken latch arm on your NAS drive sled can feel like a big problem. But it’s actually a common issue. Most Synology NAS owners run into this at some point.
The latch arm holds your hard drive tray in place. It sees a lot of action every time you insert or remove a drive. Over time, this plastic piece wears out and snaps.
The good news? You don’t need a professional to fix it. This is a simple maintenance task you can handle yourself.
In this guide, we’ll walk you through the entire repair process. You’ll learn how to power down your NAS safely. We’ll show you how to remove the damaged latch without damaging your drive bay.
In a Nutshell
- Power off your NAS first. Never attempt this repair while the device is running. This protects your data and your hardware.
- Take out the affected hard drive. Slide it out of its bay gently. Set it aside in a safe place.
- Remove the lever before replacing the latch. This one step saves you a lot of frustration. It gives you better access to the broken part.
- Push out the old latch and snap in the new one. The replacement part fits into the same slot. Squeeze the lever back together once it’s in place.
- Put the drive back and check your NAS status. If you removed the drive, your array might need rebuilding. Log into your NAS software to confirm everything looks normal.
- Grab a Torx T15 bit before you start. You’ll also want the key that came with your NAS. It helps lock trays if a latch refuses to close properly.
Why NAS Drive Sled Latch Arms Break
NAS drive sled latch arms break for several straightforward reasons. Understanding why they fail helps you prevent future damage.
Repeated insertion and removal causes the most common failures. Every time you slide a hard drive tray in and out, the latch arm flexes slightly. Over months or years, this constant movement weakens the plastic material. Eventually, the arm cracks or snaps completely.
Manufacturing defects account for some failures too. Occasionally, a latch arm leaves the factory with a weak spot or thin section. This defect might not show up immediately. The arm can fail suddenly during normal use, even if you haven’t removed the drive many times.
Physical force and improper handling accelerate breakage. Pushing a drive tray in too hard or at an angle puts stress on the latch arm. If you force the tray when it doesn’t slide smoothly, you risk breaking the arm. Yanking the tray out with excessive speed also damages the mechanism.
Environmental factors play a role as well. Temperature changes inside your NAS can cause the plastic to become brittle. Dust buildup around the latch mechanism can prevent smooth operation, forcing you to apply more pressure than needed.
Age and material fatigue are natural culprits. Plastic components degrade over time, especially in equipment that runs continuously. Your NAS might operate 24/7, which means the latch arms never get a break from the constant heating and cooling cycles.
The good news? These breaks are completely normal and expected. Manufacturers design these latches as replaceable parts. You’re not dealing with a design flaw. You’re simply experiencing standard wear and tear that any NAS owner might encounter.
Tools and Replacement Parts You’ll Need
Before you start your repair, gather the right tools and parts. Having everything ready prevents frustration and keeps your work smooth.
The most important tool is a Torx T15 bit. This small screwdriver tip unlocks and secures your NAS bays during the repair. Most NAS units come with one included in the original box. Check your documentation first before purchasing a separate one.
You’ll also need the replacement latch assembly. This is the actual part that broke and needs replacing. Contact your NAS manufacturer directly to order the correct sled latch for your specific model. Different NAS brands use different latch designs, so getting the exact match matters.
The latch removal key that shipped with your NAS is essential. This key holds the tray in place if the latch won’t close properly. Keep it nearby during your entire repair process.
Beyond these core items, gather a few basics from around your home. A small flashlight helps you see inside the bay clearly. A clean, flat work surface prevents losing small parts. An anti-static wrist strap protects your equipment from electrical discharge, though it’s optional.
Don’t attempt this without powering down completely. Your NAS must be off and unplugged before you touch anything inside.
Check your NAS documentation or manufacturer website for the exact part number. This ensures you order the correct replacement latch. Having the right part prevents delays and frustration. Most replacements arrive within a few days, so order early if your latch is already broken.
Step-by-Step: Removing the Faulty Latch Arm
Start by powering down your NAS completely. Unplug the device from the wall outlet and wait at least 30 seconds for all internal systems to stop running. This step prevents accidental damage to your data or hardware.
Next, locate the bay containing the faulty latch arm. Open your NAS enclosure according to your device’s manual. Gently slide out the hard drive from the affected bay. Move slowly to avoid jarring the drive or damaging any connections.
Now comes the helpful part: remove the lever from the sled. Squeeze both sides of the lever together gently until it releases from its mounting points. This action opens up space and makes accessing the broken latch significantly easier. Set the lever aside on a clean surface.
Look at the latch arm slot where the broken piece sits. You’ll see the damaged latch assembly inside. Use your fingers or a small plastic tool to push the old latch out from its slot. Apply steady, even pressure rather than forcing it.
Once the broken latch is removed, take your replacement latch assembly. Insert it into the empty slot, pushing it in until you hear or feel a click. The new piece should sit flush with the sled frame.
Reassemble the lever by aligning it with its mounting points and squeezing it back into place. The lever should snap back together smoothly without excessive force.
Finally, slide the hard drive back into its bay. Push it in until the sled seats completely. Your NAS will recognize the drive. If you removed the drive, check your array status to see if rebuilding is necessary.
Step-by-Step: Installing the Replacement Latch
Power down your NAS completely before touching anything. This step prevents data corruption and keeps you safe from electrical issues. Wait a few minutes for the system to fully shut down.
Open your NAS enclosure and locate the bay with the broken latch. Remove the hard drive from that slot carefully. Set it aside on a clean, static-free surface to protect the drive.
Look at the lever attached to the sled. You can leave it in place, but removing it first makes the job much easier. Gently squeeze the lever where it connects to the sled frame. It should separate with light pressure.
Now examine the latch arm slot. You’ll see where the broken piece sits inside the frame. Push the old latch out from the slot. It should slide out smoothly without force. If it resists, check that you’re pushing in the correct direction.
Take your replacement latch assembly and align it with the empty slot. Slide it in carefully until it sits flush with the frame. The part should fit snugly without requiring excessive pressure.
Reassemble the lever by aligning it with its mounting points on the sled. Squeeze it back together until you hear a small click. The lever should feel secure and move smoothly.
Slide your hard drive back into the bay. Push it in until the latch arm closes and holds the drive firmly in place. The drive should not wiggle or move side to side.
Power on your NAS and check the status. If your array shows a rebuilding status, let it complete. This is normal when you remove and reinsert drives. Monitor the process until completion.
Reinserting the HDD and Verifying Array Status
After you’ve installed your replacement latch, it’s time to put everything back together. Start by carefully sliding the hard drive back into its bay. The drive should fit smoothly without resistance. If you feel any friction, stop and check that your replacement latch is sitting correctly in its slot.
Once the drive is fully seated, close the bay door or latch mechanism. You’ll hear a soft click when it locks properly. Don’t force it. If the latch won’t close, remove the drive and verify the replacement part is positioned correctly.
Now power on your NAS system. Let it boot up completely before checking anything. This typically takes two to five minutes depending on your model.
Check your array status through your NAS management interface. Navigate to the storage or disk section. Look for the bay you just repaired. The drive should show as “normal” or “healthy” status.
If the drive shows as degraded or offline, don’t panic. Your NAS may need time to recognize the drive. Wait another five to ten minutes and refresh the status page.
If the drive still appears offline after waiting, power down your NAS. Remove the drive and reinsert it firmly to ensure proper connection. Power back on and check again.
Verify all other drives are functioning normally too. Look for any warning indicators or error messages. Your array should show all drives as healthy and operational.
Once everything displays normal status, your repair is complete. Monitor your NAS over the next few days to confirm stable operation. The system should perform exactly as it did before the latch broke.
Tips for Making the Repair Easier
Making this repair easier comes down to smart preparation and avoiding common mistakes that slow you down.
Start by gathering your tools in one place. You’ll need a Torx T15 bit for accessing the latch mechanism. Have your replacement latch assembly ready before you begin. This prevents fumbling around while your NAS sits powered down. Keep your manufacturer’s documentation nearby so you can reference the exact process for your specific model.
Remove the lever first—this single step saves enormous frustration. Most people skip this and try to work around the attached lever. Removing it gives you clear access to the latch arm slot and eliminates awkward angles. You won’t have to squeeze your fingers into tight spaces or worry about accidentally bending components.
Work in good lighting so you can see the small parts clearly. A flashlight or headlamp makes a real difference when you’re looking into the bay. Take a photo of the latch assembly before removing it. This visual reference helps you align the replacement correctly during reinstallation.
Don’t rush the reassembly process. The lever needs to align properly with its mounting points. If it doesn’t click back into place smoothly, stop and check the alignment rather than forcing it. Forcing creates new damage and wastes the time you saved.
Keep the latch removal key handy during the entire process. If your replacement latch seems tight initially, this key helps you lock and unlock the mechanism without excessive force.
Finally, test everything before closing up your NAS. Slide the drive in and out once to confirm the new latch operates smoothly. This quick check prevents having to reopen everything if something isn’t right.
Common Mistakes to Avoid During Repair
Mistakes happen during NAS drive sled latch repairs. Knowing what to avoid saves you time and prevents further damage to your system.
Never attempt repair while your NAS is powered on. This is the most critical mistake. You risk electrical damage to both the device and yourself. Always shut down completely and wait a few minutes before opening the enclosure.
Forcing the broken latch out without proper technique causes additional problems. Don’t pry or push too hard on the latch arm. Use gentle, steady pressure and let the replacement slide into place naturally. Aggressive movements can damage the sled itself.
Skipping lever removal makes the job unnecessarily difficult. Many people try to work around the lever while it’s still attached. This creates friction and makes alignment nearly impossible. Remove it first. The process takes seconds and saves major frustration.
Don’t forget to power down before touching anything inside. This cannot be overstated. Working on live systems leads to data loss or hardware failure.
Ignoring the array status after reinsertion is another common error. After you slide the hard drive back in, check your NAS management interface. The drive should show normal status within minutes. If it displays as degraded or offline, wait a bit longer before assuming something went wrong.
Rushing the lever reassembly causes misalignment. The mounting points must seat properly. Take your time aligning the lever back onto the sled. Listen for a click or feel for proper seating.
Finally, don’t work in poor lighting. You need clear visibility of small components. Use a flashlight or work near a bright window. These simple precautions prevent most repair complications and ensure your system returns to normal operation quickly.
Troubleshooting Latches That Still Won’t Close
When your latch closes but won’t stay secured, the problem usually isn’t the latch itself. The issue often stems from misalignment or debris blocking the closure mechanism.
First, power down your NAS completely. Open the bay door and inspect the latch track carefully. Look for dust, hair, or small particles stuck inside the groove. Use a soft, dry cloth to wipe away any debris you find. This simple step fixes many closure problems.
Next, check if the lever is sitting flush against the sled. If it’s slightly raised or twisted, the latch won’t engage properly. Remove the lever by squeezing the sides gently. Reinsert it slowly, ensuring both sides click into place simultaneously. The lever must sit flat and parallel to the sled.
If the latch still won’t close, examine the latch arm itself for cracks or bends. Even small deformations prevent proper closure. A bent arm requires replacement, not adjustment.
Test the closure mechanism without the hard drive installed first. This tells you whether the problem is the latch or the drive itself. Close the bay door several times. It should move smoothly and lock without resistance.
If closure works without the drive but fails with it installed, the drive might be sitting too high in the sled. Remove the drive and check the mounting rails for debris or damage. Clean the rails thoroughly and reinstall the drive, ensuring it sits completely flat.
After testing, power your NAS back on and verify array status. If the drive shows normal, your troubleshooting worked. If problems persist after these steps, the latch assembly likely needs replacement rather than adjustment.
Final Thoughts
Fixing a broken NAS drive sled latch arm is a simple job. You don’t need professional help or special skills. Just patience and the right approach.
Power down your NAS first. This step protects your data and your hardware. Skipping it creates unnecessary risk.
Remove the lever before you start working on the latch. This small step makes the whole repair much easier. Most frustration comes from skipping it.
Use a Torx T15 bit to access the latch mechanism. This tool handles the job well. Keep it nearby throughout the repair.
Push out the broken latch carefully. Insert the replacement piece in its place. Take your time so it seats correctly.
Squeeze the lever back together once the new latch is in. This reassembles the mechanism properly. Check that everything aligns before moving on.
Reinsert your hard drive once the latch is fixed. Power your NAS back on. Check your array status to confirm everything works.
Replacement is the standard fix here. Trying to repair a broken latch rarely works well long term. A new latch assembly solves the problem completely.
This repair costs little time and effort once you know the steps. Most people finish it in under thirty minutes. The hardest part is often just getting started.
Your NAS will run normally once the latch is replaced. Your drive sits secure again. Your data stays protected the way it should.
Keep spare latches on hand if you manage multiple NAS units. This saves time later. Breakage happens eventually, and preparation helps you handle it fast.
Frequently Asked Questions
Can I repair a broken latch instead of replacing it?
No. A broken latch arm cannot be reliably repaired. Replacement is the standard and only effective solution. Attempting to glue, weld, or tape a broken latch creates safety risks and fails under repeated use. The latch mechanism bears constant stress during drive insertion and removal. A repaired latch will break again quickly. Replacement takes just minutes and costs minimal time and money.
Do I need to rebuild my array after fixing the latch?
Only if you removed the hard drive from the NAS. If you simply replaced the latch with the drive still installed, no rebuild is needed. After reinsertion, check your NAS status panel to confirm the drive shows as normal. If the array shows degraded, the rebuild process starts automatically. Most systems complete this within hours depending on drive size.
What tools do I actually need for this repair?
You need very few tools. A Torx T15 bit helps unlock the latch mechanism if your model uses one. Most replacements slide in and out by hand without additional tools. Some users find it helpful to have a small flashlight for visibility inside the bay. A clean, flat workspace prevents losing small components. That’s truly all you need to complete this job successfully.
Why does my latch close but won’t stay locked?
This usually means the lever isn’t sitting flush against the sled. Power down your NAS and check the lever alignment carefully. The lever must squeeze completely together for a secure lock. If alignment looks correct, examine whether the hard drive sits too high in the sled. Test closure without the drive installed first. This tells you if the problem is the latch or the drive position itself.

Hi, I’m Archie Flynn, the founder and writer behind RapidResizerHub! 👋 I’m a passionate tech enthusiast who loves exploring the latest gadgets, smart devices, and trending electronics on Amazon. Through my honest, hands-on reviews and detailed buying guides, I help readers make smarter, well-informed shopping decisions.