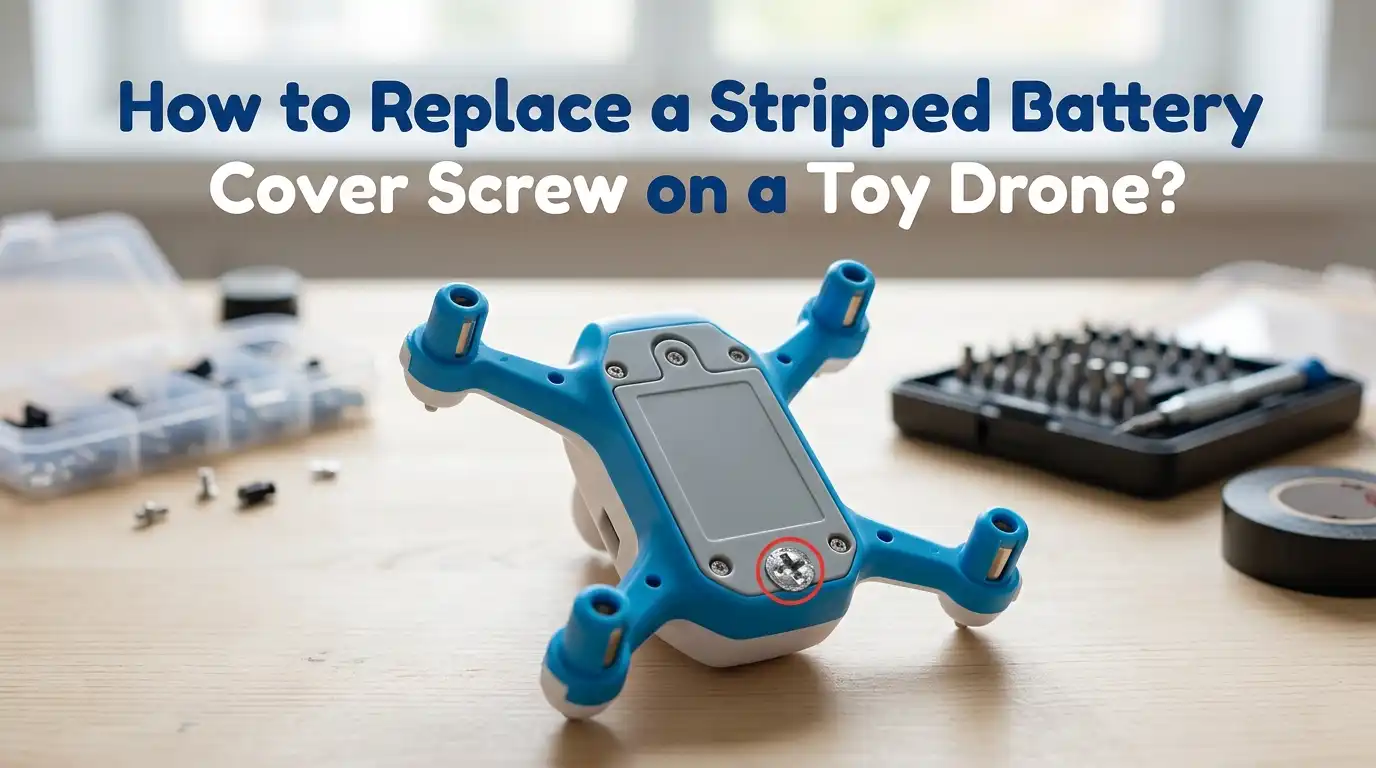
How to Replace a Stripped Battery Cover Screw on a Toy Drone?
You went to swap the battery in your toy drone, and now the screw just spins. Or worse, the screwdriver slips out every time.
That tiny metal head looks chewed up, and the cover refuses to budge. Sound familiar? A stripped battery cover screw is one of the most annoying problems hobby drone owners face, especially with small quadcopters that use micro hardware.
The good news is that you do not need a repair shop or fancy tools to fix this. With a few household items, a steady hand, and the right method, you can pull that damaged screw out and pop in a fresh one.
In a Nutshell:
- Stop turning the screwdriver the moment it slips. Every extra twist makes the screw head shallower and harder to grip later.
- Match your screwdriver size first. Most toy drones use a Phillips PH00 or PH000 bit. Using a larger size is the number one cause of stripping.
- Try the gentle methods first. A rubber band, super glue, or fresh screwdriver often works before you need to drill or cut.
- Have a replacement screw ready. Toy drone battery screws are usually M1.4, M1.6, or M2 with a length between 3mm and 6mm.
- Work over a white tray or magnetic mat. Tiny screws bounce and vanish into carpet within seconds.
- Heat and patience are your friends. A warm soldering iron tip or hair dryer can loosen thread locker glue inside the screw hole.
Why Toy Drone Battery Screws Strip So Easily
Toy drone battery screws are tiny, soft, and often made from low grade steel or zinc alloy. Manufacturers use cheap metal to keep production costs low, which means the screw heads wear down fast. Even one wrong twist can flatten the cross pattern inside the head.
The screw holes are also shallow, so the bit only grips a few millimeters of metal. Add in a screwdriver that is even slightly too big, and the tip slides right over the surface.
Pressure matters too. Most people push down too lightly and twist too hard, which is the perfect recipe for stripping. Knowing the cause helps you avoid repeating it. Always pair the right bit with firm downward pressure and slow rotation.
Tools and Materials You Will Need
You do not need a professional repair kit to handle this job. Most of these items are already in your home or cost just a few dollars at any hardware store. Gather everything before you start so you do not lose momentum mid repair.
You will want a precision screwdriver set with PH000, PH00, and PH0 bits. Grab a wide rubber band, a pair of needle nose pliers, super glue, a toothpick, and tweezers.
A small magnet helps catch loose screws. Optional but useful items include a rotary tool with a cutting disc, a manual screw extractor for micro screws, and replacement screws sized M1.4 to M2.
A bright lamp and a magnifying glass make the work much easier on your eyes. Set everything on a clean flat surface before you begin.
Method 1: The Rubber Band Trick
This is the easiest and safest method to try first. It works surprisingly well on lightly stripped screws and causes zero damage to your drone. All you need is a wide flat rubber band.
Cut the band so it lays flat as a strip. Place it directly over the stripped screw head. Press your screwdriver firmly through the rubber and into the screw. The rubber fills the worn grooves and gives the bit extra grip. Turn slowly and steadily without lifting up.
Pros: Costs nothing, no risk of damaging the drone, takes under one minute. Cons: Only works on mildly stripped screws, fails if the head is completely smooth, and you may need to try several types of rubber bands before finding one that grips well.
Method 2: Using a Larger or Flat Head Screwdriver
If the rubber band fails, try switching screwdrivers. A slightly larger bit can sometimes catch the outer edges of the screw head where there is still metal to grip. A small flat head bit often works better than a Phillips at this stage.
Press the flat head firmly into the stripped Phillips cross. Push down hard and twist slowly counterclockwise. The flat tip wedges into the damaged grooves and creates a new contact point. If it slips, try a different size flat head.
Pros: Uses tools you already own, no extra cost, fast to try. Cons: Can deepen the damage if you twist without enough pressure, may not work on completely round heads, and risks scratching the surrounding battery cover plastic if your hand slips.
Method 3: The Super Glue Method
Super glue can bond a screwdriver bit directly to the stripped head. This creates a strong temporary grip that often pulls even badly damaged screws right out. Use this method with care to avoid gluing other parts.
Place a tiny drop of super glue on the stripped screw head. Press your screwdriver bit into the glue and hold still for two to three minutes. Let the glue fully cure before turning. Twist slowly counterclockwise to back the screw out.
Pros: Works on severely stripped screws, requires only one cheap material, and creates a very strong grip. Cons: Glue can drip into the drone and damage internal parts, you may bond the screwdriver permanently if you use too much, and acetone may be needed afterward to clean the bit.
Method 4: Cutting a New Slot with a Rotary Tool
If gentle methods fail, you can cut a fresh groove into the screw head. This turns any stripped Phillips screw into a usable flat head. You will need a rotary tool with a thin cutting disc.
Cover the area around the screw with masking tape to protect the drone body. Hold the rotary tool steady and cut a shallow straight line across the screw head. Go slow to avoid cutting too deep or hitting the plastic. Then use a flat head screwdriver to unscrew it.
Pros: Works on almost any stripped screw, gives you a clean reliable grip. Cons: Risk of cutting into the drone body, requires a power tool you may not own, generates heat that can melt nearby plastic, and metal shavings can fall inside the drone.
Method 5: Using Needle Nose Pliers
If the screw head sticks up above the surface even slightly, you can grip the sides with pliers. This bypasses the damaged top entirely. This method works best on raised or button head screws.
Open your needle nose pliers and clamp them tightly around the edge of the screw head. Squeeze hard to bite into the metal. Twist counterclockwise in slow steady motions. Reposition the grip if the pliers slip.
Pros: No special tools needed, very effective on raised heads, works even when the screw head is completely smooth on top. Cons: Useless on flush or recessed screws, can scratch the drone body, and may bend the screw if you squeeze too hard, which makes it even harder to remove.
Method 6: Micro Screw Extractor Tools
Screw extractors are specially designed bits that bite into stripped screw heads. They come in micro sizes perfect for toy drones and electronics. They are the most reliable method when other tricks fail.
Choose an extractor that matches the screw size. Place the tip on the stripped head and push down firmly. Turn counterclockwise with slow steady pressure. The reverse threaded tip digs in and pulls the screw out as you twist.
Pros: Designed exactly for this problem, works on the most damaged screws, reusable for future repairs. Cons: Costs more than household methods, requires buying a specific tool, and the smallest sizes can break if you apply too much force at the wrong angle.
How to Choose the Right Replacement Screw
Once the old screw is out, you need a matching replacement. Most toy drones use metric screws in very small sizes. Measuring correctly prevents a second stripping problem.
Check the old screw with a ruler or digital caliper. Measure the diameter of the threaded shaft and the length from under the head to the tip. Common toy drone battery screws are M1.4, M1.6, or M2 with lengths between 3mm and 6mm.
If you cannot measure the old screw, check the drone manual or the manufacturer website. Many drone brands sell official replacement screw packs. Always pick stainless steel over zinc alloy for better long term durability. Bring the old screw to a hardware store if you want to match it in person.
Step by Step Installation of the New Screw
Now comes the satisfying part. Installing the new screw correctly will keep the battery cover secure for many flights to come. Follow these steps in order.
Clean the screw hole with a dry toothpick to remove dust or thread locker bits. Line up the new screw straight into the hole. Use the correct screwdriver bit and apply firm downward pressure. Turn clockwise slowly until you feel resistance.
Stop the moment the screw feels snug. Do not overtighten, since this is what causes future stripping. The battery cover should sit flat with no gaps. Give the drone a gentle shake to confirm nothing rattles. Then reinstall the battery and test the cover before your next flight.
Preventing Future Screw Stripping
The best repair is the one you never have to do. A few simple habits will protect your tiny drone screws for years. Build these into your routine.
Always use the exact size screwdriver bit for the screw head. Push down hard before you twist, and keep the bit perfectly vertical. Replace cheap stock screws with stainless steel ones when possible. Stainless resists wear far better than soft zinc.
Avoid overtightening. Snug is enough for a battery cover. Keep a small repair kit with spare screws, a precision driver set, and a rubber band tucked into your drone bag. If you fly often, check the screws every few weeks for early signs of wear and replace them before they fail.
When to Stop and Call for Help
Sometimes a stripped screw becomes a serious problem. If you have tried multiple methods and the screw will not budge, stop before you damage the drone further. Forcing it can crack the plastic body or break internal parts.
Reach out to the drone manufacturer for support. Many brands offer repair services or send out replacement parts cheaply. Local hobby shops and electronics repair stores often handle micro screw extractions for a small fee.
If your drone is still under warranty, contact the seller before opening anything further. Some warranties become void if you use a rotary tool or extractor. Knowing when to stop saves money and protects your investment. There is no shame in handing it off to a pro for the trickiest cases.
Frequently Asked Questions
What size are most toy drone battery cover screws?
Most toy drones use M1.4, M1.6, or M2 metric screws with lengths between 3mm and 6mm. The exact size depends on the drone brand and model. Check your user manual or measure the old screw with a caliper to confirm.
Can I use WD-40 to loosen a stripped drone screw?
You can apply a tiny drop of penetrating oil if the screw feels stuck due to corrosion. Avoid spraying directly, since liquid can seep into the drone electronics. Apply with a toothpick, wait a few minutes, then try again.
Will a stripped screw void my drone warranty?
It usually does not, since wear and tear is normal. However, drilling, cutting, or extracting the screw yourself may void coverage. Contact your manufacturer first if your drone is still under warranty.
How do I avoid losing tiny drone screws during repair?
Work over a magnetic parts tray or a white plate. Place each screw in a small container as soon as you remove it. A magnetic wristband also helps keep screws from rolling away.
Can I replace a metal screw with a plastic one?
It is not recommended. Plastic screws strip and break far more easily than metal. Always use metal screws for battery covers, since they need to handle repeated removal and tightening over time.
What if the screw breaks off inside the drone?
If the screw snaps below the surface, you will need a micro screw extractor or professional help. Do not try to drill it out at home, since you may damage the battery compartment or internal wiring.

Hi, I’m Archie Flynn, the founder and writer behind RapidResizerHub! 👋 I’m a passionate tech enthusiast who loves exploring the latest gadgets, smart devices, and trending electronics on Amazon. Through my honest, hands-on reviews and detailed buying guides, I help readers make smarter, well-informed shopping decisions.