How To Fix Custom Water Loop PETG Tubing Cracking?
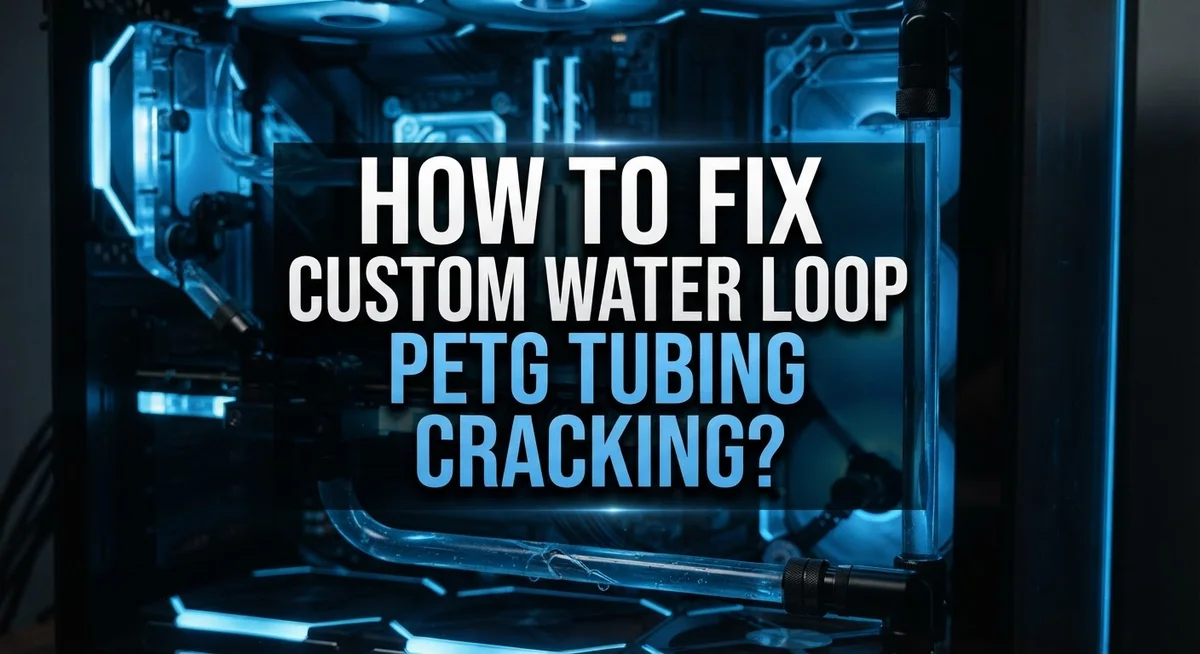
Custom water loops look amazing in any PC build. But cracked PETG tubing can turn that dream setup into a stressful mess.
You’re not alone if you’ve spotted tiny cracks or stress marks on your tubing. PETG is a tough material. People even call it “hammer proof.” But it has one weakness: heat.
PETG tubing starts to deform at around 40°C. If your coolant runs hot for too long, the tube weakens from the inside out. This leads to cracking, leaks, and sometimes total tube failure.
In a Nutshell
- PETG cracks mainly due to heat. Keep coolant temps below 40°C to protect your tubing long term.
- Bending matters a lot. Spread heat across 3 to 4 inches when shaping tubes. Never focus heat on one small spot.
- Small cracks can often be repaired. A torch and silver solder rod work well for serious damage. This method takes patience but gets solid results.
- Sometimes replacement beats repair. If the crack runs deep or the tube looks warped, swap the section out. This saves you future headaches.
- Clean edges prevent new problems. Use a chamfer tool to remove burrs after cutting. Rough edges create weak points that crack faster.
- Mineral deposits cause hidden stress. Clean your loop with a weak acid like vinegar. This keeps buildup from weakening the tube walls.
- Watch for early warning signs. Cloudiness, small stress marks, or slight bulging mean trouble ahead. Catching these early saves your whole loop.
Why PETG Tubing Cracks in Custom Water Loops
PETG tubing cracks for one main reason: heat stress. When your coolant temperature climbs above 40°C, the plastic begins to soften and lose its strength. This is the critical threshold where permanent damage starts.
Thermal cycling makes the problem worse. Your water loop heats up during gaming or heavy workloads, then cools down when you stop. This constant expanding and contracting puts pressure on the tubing walls. Over time, tiny stress points become visible cracks.
Bending technique causes many cracks too. When you apply concentrated heat to a small section of tubing, you create a weak spot. The plastic gets too hot in that one area while the rest stays cool. This uneven heating leads to deformation and eventual cracking. Spreading your heat across 3 to 4 inches prevents this problem.
Poor water loop design contributes as well. If your radiators can’t cool the water effectively, temperatures climb steadily. Undersized pumps or blocked channels force water through too quickly, generating friction heat. Both situations push your tubing beyond its limits.
Mineral deposits hidden inside the tube add extra stress. Buildup reduces water flow and traps heat. Your coolant stays warmer longer, even if your radiators work hard. This sustained temperature exposure weakens the plastic gradually.
Early warning signs appear before major cracks form. Look for slight cloudiness in the tubing, tiny stress marks, or small bulges. These indicate the plastic is already softening. Catching these early gives you time to lower temperatures and prevent catastrophic failure.
Understanding these causes helps you prevent future problems. Temperature control remains your best defense against cracking.
Signs of Cracking and Early Deformation to Watch For
Your PETG tubing will show warning signs before it completely fails. Learning to spot these early indicators helps you fix problems before they become expensive disasters.
Cloudiness and discoloration appear first. Clear tubing turns milky or develops a frosted look. This happens when heat stress begins breaking down the material from inside. The cloudiness spreads outward from hot spots in your loop.
Small stress marks look like thin white lines running along the tube. These aren’t actual cracks yet. They’re the material beginning to fracture under pressure and temperature. You’ll notice them most under bright light or when you tilt the tube.
Slight bulging or swelling indicates serious trouble. The tubing expands outward instead of staying perfectly round. This means internal pressure combined with heat is pushing the walls beyond their limits. Bulges often appear near bends or connection points.
Tiny hairline cracks start appearing at bends and corners. These are barely visible at first. Run your finger along the tube surface. You’ll feel a slight catch or ridge where the crack begins.
Leaking at seams happens when stress reaches connection points. You might spot moisture around fittings or notice coolant dripping slowly. This means the tubing has lost structural integrity near the fitting.
Discoloration around specific areas shows where heat concentrates most. Dark spots or yellowing indicate sustained high temperatures in those zones.
Monitor your water temperatures constantly. If coolant consistently stays above 38°C, watch your tubing closely. Check your loop every few weeks for these signs. Catching problems early means you can repair small sections instead of replacing entire runs. Early detection saves time and keeps your system running reliably.
Assessing Crack Severity Before You Repair
Assessing crack severity determines your next steps. You need to examine the damage carefully before deciding whether to repair or replace the tubing section.
Start by locating the crack. Use a flashlight to inspect the tube closely. Small hairline cracks appear as thin white lines. These often develop at bends or connection points where stress concentrates most.
Check the crack length next. Hairline cracks under half an inch can often be repaired successfully. Cracks longer than one inch typically require full tube section replacement. Long cracks compromise structural integrity too much for reliable repairs.
Examine crack depth carefully. Surface cracks affect only the outer layer. These respond well to repair methods. Deep cracks that penetrate through the tube wall are more serious. You may see water seeping or weeping from deeper damage.
Look for multiple cracks in the same area. Single isolated cracks are easier to fix. Multiple cracks indicate systemic heat stress throughout that tube section. Replacement becomes the safer choice when you find several damage points.
Check for deformation around the crack. Bulging or warping near the damage suggests the tube experienced extreme heat. Deformed tubing often fails again even after repair because the material weakened permanently.
Test the tube’s flexibility gently. Healthy PETG tubing bends slightly without cracking further. Brittle tubing that cracks easily when moved needs replacement.
Document the location and size. Take photos before you start work. This record helps you identify whether the same area cracks again later.
Once you assess severity accurately, you’ll know whether a repair attempt makes sense or replacement is the better option. This decision saves you time and prevents future loop failures.
Step-by-Step: Torch and Silver Solder Rod Repair Method
A torch and silver solder rod method works best for severe cracks that span more than half an inch. This repair approach requires careful heat management and steady hands. The process involves melting silver solder into the crack to create a permanent seal.
Start by draining your water loop completely. Remove the damaged tube section from your system. Place the tube on a heat resistant surface or clamp it securely in a vice. You need stability to prevent the tube from moving during repair.
Heat the cracked area evenly using a torch. Move the flame back and forth across 3 to 4 inches of tubing above and below the crack. This distributes heat evenly and prevents localized damage. Hold the torch 2 to 3 inches away from the tube surface.
Once the tube glows slightly red, apply your silver solder rod to the crack. The heat will melt the solder into the damaged area. Work slowly and let gravity help the solder flow into the crack. Add multiple passes if needed to fill the entire damaged section.
Allow the tube to cool naturally. Do not submerge it in water or use compressed air to speed cooling. Rapid temperature changes cause additional stress and new cracks.
After cooling, use a chamfer tool to smooth any rough edges or excess solder. Sand the repair area gently to ensure a smooth surface. This prevents sharp points that could damage fittings or cause leaks.
Test the repair by running water through the tube before reinstalling it. Check for leaks around the solder joint. If leaks persist, the crack was likely too severe for this method. Replacement becomes the safer option in those cases.
Step-by-Step: Cutting, Chamfering, and Replacing a Damaged Section
When your PETG tubing cracks, you have two main options: repair the damaged section or replace it entirely. Replacement is often the most reliable choice, especially for extensive damage. This method involves cutting out the bad section and installing new tubing.
Start by draining your entire water loop completely. You don’t want coolant spilling everywhere when you cut the tube. Locate the damaged section and mark where you’ll make your cuts. Cut about one inch beyond the crack on each side to ensure you remove all stress points.
Use a sharp utility knife or specialized tubing cutter to make clean, straight cuts. A tubing cutter prevents crushing the PETG, which can cause additional problems. Make your cuts perpendicular to the tube for proper fitting.
Chamfering is critical after cutting. Use a chamfer tool to remove burrs and sharp edges from both cut ends. These rough edges can cause leaks at your fittings. Smooth edges also help new tubing slide onto connectors without damage.
Measure your removed section carefully. Cut new PETG tubing to match this exact length. Add a quarter inch extra to account for fitting depth.
Insert the new section into your existing fittings. Hand tighten all connections first. Check alignment and make sure the tube sits straight in your loop. Then gradually tighten your fittings using the proper wrench size.
Fill your water loop slowly and watch for leaks around all connection points. Run your system for 15 minutes before fully powering on your components. This replacement method gives you a fresh start and eliminates the stress point that caused the original crack.
Proper Bending Techniques to Prevent Future Cracks
Proper bending techniques are your best defense against PETG tubing cracks. The key is distributing heat evenly across a wider section of the tube rather than concentrating it in one small spot.
When you heat your PETG tubing, apply warmth across 3 to 4 inches of the tube length. This spreads the stress and prevents weak points from forming. Move your heat source back and forth continuously. Never hold the flame in one place for more than a few seconds.
Let the tube reach the right temperature gradually. PETG becomes workable around 80 to 90 degrees Celsius, but you don’t need extreme heat. Once it feels soft and pliable, you can bend it slowly into shape. Rush the process and you risk thermal shock that causes immediate cracking.
Support the tube on both sides of your bend. This prevents the inner wall from collapsing during the bending motion. Use your hands or a bending jig to guide the curve smoothly. Sharp angles create stress concentrations where cracks start.
Allow the tube to cool completely before moving it. This sets the new shape and prevents stress from building up. Cold water speeds cooling, but avoid shocking the tube with ice cold water directly after heating.
Monitor your coolant temperatures constantly. Keep your water below 40 degrees Celsius during normal operation. High temperatures soften PETG permanently, making it prone to deformation and cracking over time.
Practice your bending technique on spare tubing first. This builds your skill without risking your actual loop. Once you master smooth, even heating and gradual bending, your custom loop will stay crack free for years.
Maintaining Safe Coolant Temperatures and Preventing Mineral Buildup
Your coolant temperature is the single most important factor in preventing PETG tubing from cracking. PETG begins to deform at 40°C and sustained exposure above this threshold causes permanent damage. Keep your water loop running below 40 degrees Celsius during normal operation to maintain tube integrity.
Monitor your coolant temperature using a reliable thermometer or temperature sensor. Check readings regularly, especially during gaming sessions or heavy CPU workloads. Temperature spikes often happen when your pump runs inefficiently or your radiator cannot dissipate heat fast enough.
Mineral buildup inside your tubing reduces cooling efficiency and forces your coolant temperature higher. Deposits accumulate over time from tap water minerals and corrosion particles. Use weak acids like vinegar to safely remove mineral deposits without damaging PETG. Drain your loop, pour diluted vinegar through the tubing, let it sit for several hours, then flush thoroughly with distilled water.
Switch to distilled water or premixed coolant formulas designed for custom loops. These options contain fewer minerals and reduce buildup significantly. Change your coolant every 6 to 12 months to prevent mineral accumulation and maintain cooling performance.
Clean your radiator fins regularly to maximize heat dissipation. Dust buildup restricts airflow and raises coolant temperatures. A soft brush or compressed air removes dust effectively without damaging fins.
Inspect your pump operation monthly. A failing pump circulates coolant slowly, allowing temperatures to climb dangerously. Listen for unusual noises or vibrations that signal pump problems.
Temperature management and mineral prevention work together to keep your PETG tubing safe. Low temperatures prevent deformation while clean coolant ensures efficient heat removal. Both practices extend your tubing lifespan and prevent costly cracks from developing.
Common Mistakes That Cause PETG Tubing to Fail
PETG tubing fails when you make specific mistakes during installation and operation. Understanding these errors helps you avoid expensive damage to your custom water loop.
Concentrated heat application is the leading cause of cracking. Many builders focus heat on a tiny section of tubing instead of spreading warmth across 3 to 4 inches. This creates stress points where the material weakens suddenly. The tube cracks during or shortly after bending because the localized heat damages the polymer structure.
Exceeding temperature limits destroys PETG from the inside out. PETG begins deforming at 40°C and sustains permanent damage with prolonged exposure above this threshold. Your coolant must stay below this temperature during normal operation. Ignoring early warning signs like slight tube discoloration or deformation leads to catastrophic failure.
Thermal cycling accelerates cracking over time. Repeated heating and cooling cycles stress the material. Each cycle weakens the tube walls slightly until cracks suddenly appear. This is why consistent temperature management matters more than occasional spikes.
Mineral buildup indirectly causes cracking by reducing cooling efficiency. Deposits inside your tubing block water flow and force coolant temperatures higher. Your loop works harder to cool, pushing temperatures toward dangerous levels. This buildup creates hidden stress on your PETG tubing.
Poor tube support during bending creates weak points. If you don’t support both sides of your bend, the tube collapses unevenly. This uneven deformation creates areas prone to cracking later.
Ignoring burrs after cutting causes stress concentration at connection points. Sharp edges create tiny stress points where cracks initiate. These mistakes are completely preventable with proper technique and attention to temperature management.
Final Thoughts
Fixing cracked PETG tubing comes down to good habits. Prevention always beats repair when you work with custom water loops.
Small cracks can get patched with torch and solder methods. But replacement remains the safer choice for most damage.
PETG tubing rewards careful handling. It punishes shortcuts during bending or temperature management.
Remember that heat is your biggest enemy here. Keep coolant temperatures below 40°C at all times.
Spread warmth evenly when you bend tubing. Never concentrate heat on one small spot.
Support your tube properly on both sides during bends. This simple step prevents many future cracks.
Clean burrs from cut edges before installation. Rough edges create stress points that lead to cracks later.
Watch your loop for early warning signs. Small deformations often signal bigger problems ahead.
Mineral buildup deserves your attention too. Clean deposits regularly using weak acids like vinegar.
Distilled water and quality coolant formulas reduce buildup significantly. This keeps your temperatures stable and your tubing healthy.
Testing your loop after any repair matters greatly. Run it slowly and check every connection point.
PETG remains a solid choice for custom loops. It handles daily use well when you respect its limits.
Temperature control and proper technique form the foundation of long lasting tubing. Master these basics and cracks become rare events.
Replace tubing sections when damage looks severe. This costs less than dealing with leaks later.
Your loop rewards attention and care. Follow these practices and your PETG tubing will serve you reliably for years to come.
Frequently Asked Questions
What temperature should I keep my coolant at to prevent PETG cracking?
Keep your coolant below 38 to 40°C for safe operation. PETG begins to deform at 40°C and sustained exposure causes permanent damage. Monitor your temperature continuously using a reliable sensor. If you see your coolant climbing toward 40°C, your radiator or pump needs attention immediately.
Can I repair a cracked PETG tube or should I replace it?
Small cracks can be repaired using a torch and silver solder rod method. This approach works for minor damage along the tube wall. However, replacement is often more reliable for extensive cracks or damage near fittings. Repaired sections may fail again under thermal stress, so replacement gives you peace of mind.
Why does my PETG tubing crack even when I’m careful?
Thermal cycling is the main culprit. Each time your loop heats up and cools down, the material expands and contracts. Over many cycles, this stress accumulates and causes cracks to form. Temperature spikes above 40°C accelerate this process dramatically. Mineral buildup also reduces cooling efficiency, which forces temperatures higher and speeds up cracking.
What should I do immediately after cutting a PETG tube?
Use a chamfer tool to remove burrs from the cut edges. These sharp points create stress concentration zones where cracks start easily. Clean burrs thoroughly before connecting your tube to any fittings. This simple step prevents premature failure at connection points.
How do I know if my PETG tubing is starting to fail?
Watch for early deformation signs like slight clouding or visible bending in the tube walls. Check for mineral deposits inside the tubing, which indicate cooling problems. Inspect your loop monthly for these warning signs. Catching issues early lets you replace tubes before catastrophic failure occurs.

Hi, I’m Archie Flynn, the founder and writer behind RapidResizerHub! 👋 I’m a passionate tech enthusiast who loves exploring the latest gadgets, smart devices, and trending electronics on Amazon. Through my honest, hands-on reviews and detailed buying guides, I help readers make smarter, well-informed shopping decisions.