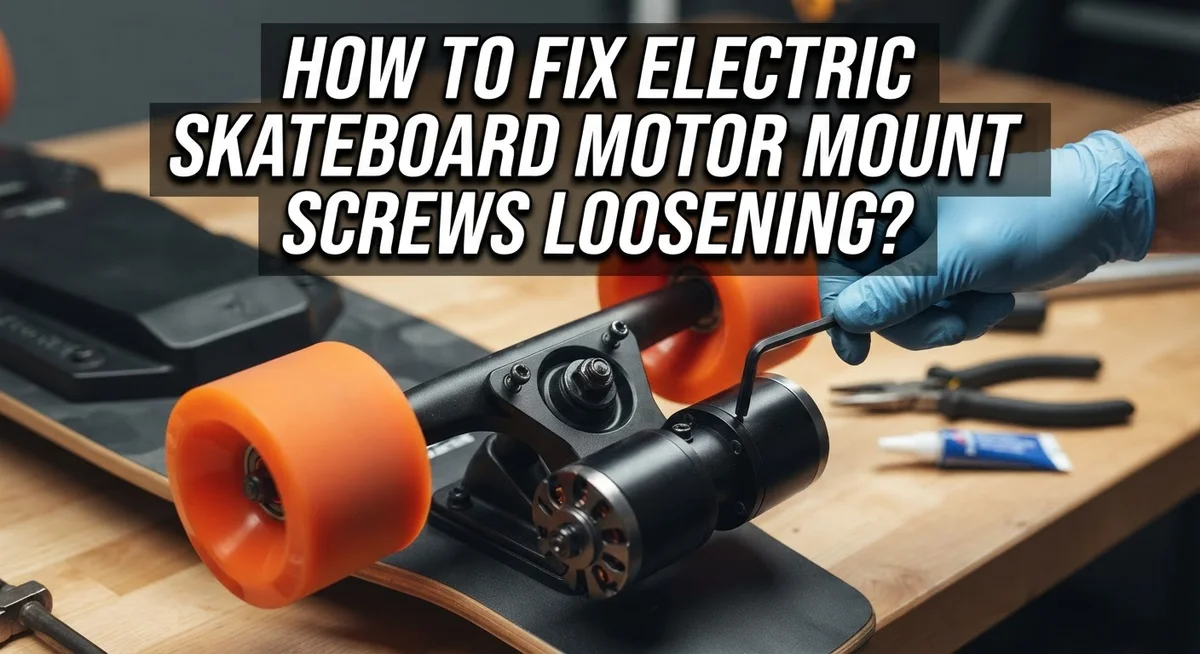
How To Fix Electric Skateboard Motor Mount Screws Loosening?
Loose motor mount screws can turn a smooth ride into a wobbly mess. You feel it first as motor play, then as a rattle, then as a drop in performance. It is a common issue for electric skateboard riders, but it is also an easy one to fix.
This guide walks you through the entire process. You will learn why these screws loosen in the first place and how vibration plays a big role. We also cover what to do if a screw strips, including how to remove it safely.
You will get clear steps for the tightening process too. This includes removing the belt cover, checking the drive wheel nut, and getting your belt tension just right. We also point out common mistakes riders make, like ignoring seized nuts or over tightening bolts.
By the end, you will know how to spot the problem early and fix it fast. Your board will feel solid again, with a motor that runs true and a ride that feels safe.
In a Nutshell
Here is your quick summary of the fix:
-
Check for stripped screws first. If a screw spins without gripping, it’s stripped. You will need to cut a groove using a Dremel and fiberglass cutoff tool.
-
Remove the belt cover and wheel. Take off the drive wheel nut, wheel, and belt. This gives you clear access to the motor mount screws.
-
Replace stripped screws with the right size. A Philips M4 screw usually works well. Always match the original size exactly.
-
Tighten screws securely but not too hard. Over-tightening can crack the mount or strip new threads. Snug and firm is the goal.
-
Check belt tension carefully. The belt should feel tight enough to stop slipping. It should not feel overly stretched either.
-
Watch for common mistakes. Seized nuts, wrong bolt direction, and poor motor alignment cause repeat problems.
Follow these steps in order. Your motor mount will stay solid and your ride will feel smooth again.
Why Motor Mount Screws Loosen Over Time
Vibration causes motor mount screws to loosen gradually. Every time your electric skateboard accelerates, brakes, or hits bumps, the motor vibrates slightly. These tiny movements work against the screw threads over time.
Heat also plays a role in loosening. Electric motors generate warmth during operation. Metal expands when hot and contracts when cool. This expansion and contraction cycle weakens the grip that screws have on the threads.
Improper initial tightening creates another common cause. If screws were not tightened enough during assembly, they have more room to move. Conversely, over-tightening can strip the threads, making the screw spin freely without holding.
The materials matter too. Different metals expand at different rates. When your motor mount uses mixed metals, the varying expansion rates create gaps between components. Screws lose their tight fit in these gaps.
Worn or damaged threads accelerate the problem. If threads are already compromised from previous over-tightening or cross threading, new screws will not grip properly. The screw essentially has nothing to hold onto.
Belt tension affects motor movement as well. A loose belt allows the motor to shift side to side more than it should. This extra movement puts stress on the mount screws and speeds up loosening.
Road conditions intensify the issue. Rough terrain and potholes create sudden jolts that shake your skateboard. These impacts transmit directly to the motor mount. Frequent riders on bumpy paths experience faster screw loosening than those on smooth surfaces.
Understanding these causes helps you prevent future problems. Regular inspection catches loosening early before it becomes serious. Knowing what causes the issue means you can address the root problem, not just the symptom.
Signs Your Motor Mount Screws Need Attention
Your electric skateboard will show you clear warning signs when motor mount screws need attention. Pay close attention to these signals so you can fix problems before they get worse.
Listen for unusual noises first. A rattling or clicking sound coming from the motor area often means screws have loosened. The motor shifts slightly with each bump, creating that distinctive noise. You might hear it most when riding over rough ground or accelerating hard.
Feel the vibration increase. A loose motor creates excessive vibration that travels through the deck to your feet. The ride feels rougher than normal, even on smooth surfaces. This vibration gets worse as screws loosen further.
Check the motor movement. Grab your skateboard and hold it upside down. Gently push the motor side to side with your hand. A properly secured motor should feel solid and fixed in place. If the motor shifts or moves, your screws need tightening immediately.
Watch for performance drops. Your skateboard might lose acceleration power or feel sluggish. The motor cannot transfer power efficiently when it moves around on loose screws. You might also notice the wheels spinning unevenly or the belt slipping more often.
Inspect for visible gaps. Look closely at where the motor connects to the mount. Small gaps appearing between the motor and mount plate indicate loosening. Sometimes you can see the screws sitting slightly proud of the surface.
Test the belt tension. A loose motor affects belt alignment. The belt might sit off center or feel too loose. This creates a chain reaction of problems throughout your skateboard’s drive system.
Check these signs regularly during your pre ride inspections.
Tools and Parts You’ll Need
Before you start fixing loose motor mount screws, gather the right tools and parts. Having everything ready makes the job faster and prevents frustration.
You will need a socket set or wrench set that matches your motor mount bolt sizes. Most electric skateboards use metric sizes like M4 or M5 bolts. A Phillips head screwdriver works for many models, though some use Allen keys instead. Check your skateboard’s manual to confirm which type you need.
A Dremel tool or rotary cutter becomes essential if your screws are stripped. This tool cuts a groove into the damaged screw head so you can remove it without spinning endlessly. Fiberglass cutoff wheels work best for this task.
Keep replacement bolts on hand that match your original hardware. Bring extras because stripped screws sometimes break during removal. Buy metric bolts in the correct diameter and length to fit your specific motor mount.
You will also need a belt cover removal tool or a small pry bar. This helps you access the motor area without damaging surrounding parts. A flashlight makes it easier to see inside tight spaces around your motor.
Add a torque wrench to your toolkit if you want precision. This tool prevents over tightening, which damages threads and strips bolts. Even without one, you can learn to tighten by feel, but a torque wrench gives you confidence.
Finally, grab some thread locking compound in medium strength. This liquid prevents screws from loosening again due to vibration. Let it cure fully before riding.
Having these items ready before you begin saves time and ensures a professional repair.
Step-by-Step Guide to Removing Stripped Screws
Stripped screws won’t turn with a regular screwdriver. You need a different approach to remove them safely without damaging the motor mount.
The first step is to assess how badly the screw is stripped. Try turning it gently with the correct screwdriver size. If it spins without catching, the screw is truly stripped and needs removal.
Use a rotary tool with a cutting attachment to create a straight groove across the top of the stripped screw. Cut deep enough so a flat head screwdriver can grip firmly in the new slot. This gives you something to hold onto.
Insert your flat head screwdriver into the groove you just created. Apply steady downward pressure while turning slowly. Don’t rush this step. Patience prevents the screw from breaking inside the mount.
If the screw still won’t budge, apply penetrating oil around the screw head. Wait 15 to 20 minutes for the oil to soak in. Try again with gentle, consistent pressure.
For severely stuck screws, try tapping the screwdriver handle lightly with a hammer. This can break the corrosion bond. Use small taps, not heavy strikes.
Once the screw comes out, inspect the hole. If the threads are damaged, you’ll need to use a slightly larger replacement bolt or apply thread repair compound to the hole.
Clean out any debris from the hole before installing your new screw. Wipe away metal shavings and dust completely. This ensures proper seating and prevents future loosening.
Take your time during removal. Rushing this process often causes more damage to the motor mount itself.
Step-by-Step Guide to Retightening and Replacing Screws
Start by removing the belt cover to access your motor mount screws. You’ll need to lift or unclip the cover carefully. Set it aside in a safe spot where it won’t get damaged.
Next, remove the drive wheel nut. Use your socket set or wrench to turn it counterclockwise. Once the nut comes free, slide off the wheel. Now you can access the belt and remove it from the motor pulley.
Locate all the motor mount screws. Count them so you know how many you need to work with. These screws hold your motor firmly to the mount bracket. Take a photo of the current setup before making changes. This helps you remember the correct positioning.
Inspect each screw carefully. Some may just need tightening while others might be stripped or damaged. Use your appropriately sized wrench or socket to turn each screw clockwise. Tighten them firmly but avoid over tightening, which can crack the mount or strip the threads.
Apply thread locking compound to the screw threads before final tightening. This prevents them from loosening again during rides. Use medium strength compound so you can still remove screws later if needed.
Once all screws are tight, reinstall your belt. Make sure it sits properly on both pulleys. Replace the wheel and tighten the drive wheel nut securely.
Check your belt tension by pressing on it with your finger. It should feel snug without excessive resistance. Reinstall the belt cover.
Test your skateboard by spinning the wheel by hand. It should rotate smoothly without wobbling. The motor should feel solid with no play or movement at the mount points. Take a short test ride to confirm everything works properly.
Getting Belt Tension and Motor Alignment Right
Belt tension and motor alignment work together to keep your electric skateboard running smoothly. When these two elements are out of sync, your motor mount screws will loosen faster than normal.
Proper belt tension prevents excessive side to side movement. A belt that’s too loose allows the motor to shift during acceleration and braking. This constant movement causes screws to vibrate loose over time. A belt that’s too tight puts strain on the motor shaft and bearings, which can damage your skateboard.
To check belt tension, press your finger against the belt midway between pulleys. The belt should deflect about half an inch with moderate pressure. This sweet spot keeps everything stable without overloading components.
Motor alignment means your motor pulley lines up perfectly with your wheel pulley. Misalignment creates uneven belt wear and causes the motor to pull to one side. This pulling action loosens mount screws gradually.
Check alignment by looking at both pulleys from the side of your skateboard. They should sit on the same plane. If one pulley appears higher or lower than the other, your motor needs repositioning.
Loosen your motor mount screws slightly, then adjust the motor position until pulleys align. Tighten the screws evenly in a cross pattern, similar to tightening car wheel lugs. This prevents one side from being tighter than the other.
After tightening, spin your wheel by hand and watch the belt. It should track straight without drifting toward either side. If the belt pulls left or right, readjust your motor position and repeat the alignment check.
Common Mistakes to Avoid During the Fix
When fixing your electric skateboard motor mount screws, several mistakes can make the problem worse. Understanding what to avoid saves you time and prevents damage.
Don’t skip checking for seized nuts. Before you apply force to any screw, inspect the surrounding area carefully. Sometimes the nut behind the screw gets stuck from corrosion or dirt buildup. Forcing a screw when the nut is seized can strip the hole further or break internal components. Clean the area first and apply penetrating oil if needed.
Incorrect bolt direction causes real problems. Insert screws straight into the mount. Tilting or angling them as you tighten creates misalignment and weak connections. The screw should go in perpendicular to the mounting surface every single time.
Improper motor alignment ruins your fix. Even if screws are tight, a misaligned motor creates belt slip and uneven wear. Check that your motor pulley lines up with your wheel pulley before you fully tighten everything down.
Over tightening is surprisingly common. Many people think tighter always means better. This causes stripped threads, cracked mounting brackets, and broken screws. Tighten until the motor feels solid and secure, then stop. You should feel resistance, not extreme force.
Don’t ignore belt tension during reassembly. A loose belt slips and causes the motor to move around, loosening your newly tightened screws. A belt that’s too tight strains the motor and damages the pulleys.
Finally, skip the temptation to reuse old stripped screws. Always replace them with fresh hardware in the correct size. Your skateboard’s performance depends on these small but crucial details.
Preventing Future Loosening
Preventing future loosening starts with understanding why screws fail in the first place. Vibration from your skateboard’s motor creates constant movement that gradually works screws loose over time. The key is stopping this problem before it happens again.
Thread locking compound is your first line of defense. Apply a small amount to the screw threads before you tighten them. This adhesive holds the screw in place without making it impossible to remove later if needed.
Check your screws regularly. Inspect your motor mount every few weeks, especially if you ride frequently. A quick visual check takes seconds and catches loose screws before they cause damage.
Proper tightness matters more than maximum force. Tighten your motor mount screws firmly, but stop before you feel significant resistance. Over tightening damages the screw head and can crack the mount itself.
Ensure your belt tension stays correct after reassembly. A belt that’s too loose allows excessive motor movement. A belt that’s too tight strains your motor. Press your finger against the belt midway between pulleys. It should give slightly under pressure, not feel rock hard or completely loose.
Motor alignment prevents side to side stress on your screws. When your motor pulley lines up perfectly with your wheel pulley, forces distribute evenly. Misalignment creates pulling forces that loosen screws faster.
Store your skateboard properly between rides. Avoid leaving it in direct sunlight or extreme temperatures. Heat causes metal to expand and contract, which loosens fasteners over time.
Finally, use quality replacement screws. Cheap screws strip more easily and hold thread locking compound less effectively. Invest in proper fasteners for long term reliability.
Final Thoughts
Fixing loose motor mount screws is not hard once you know the steps. You remove the belt cover, check the screws, and tighten them properly.
Small problems become big problems if you ignore them. A loose screw today can turn into a stripped screw or a damaged motor mount tomorrow.
Regular checks save you time and money. Spend five minutes before each ride looking at your motor mount. This habit catches loose screws early.
Thread locking compound makes a real difference. It keeps screws in place even after hours of vibration and rough rides. Apply it every time you reassemble your motor mount.
Belt tension and motor alignment matter just as much as screw tightness. All three work together to keep your board running smoothly. Skip one step, and you risk damaging the others.
Quality replacement parts protect your investment. Cheap screws strip faster and fail sooner. Choose the right size and material for your specific motor mount.
Your electric skateboard depends on this small but critical connection. The motor mount holds everything together during high speed rides. Treat it with the care it deserves.
Patience pays off during this repair. Rushing leads to mistakes like over tightening or misaligned pulleys. Take your time with each step.
Most riders can handle this fix at home with basic tools. You do not need professional help for routine maintenance like this. Follow the steps, check your work, and test before you ride.
Keep your board in top shape by staying proactive. Loose screws are a common issue, but they are also easy to prevent. A little attention now means smoother rides later.
Frequently Asked Questions
Why do my motor mount screws keep loosening?
Vibration from riding causes screws to gradually work their way out. Your skateboard’s motor experiences constant movement and impact. Without proper securing methods, the screws naturally loosen over time. Vibration is the main culprit here.
Motor misalignment also plays a role. When your motor isn’t positioned correctly, it creates uneven stress on the screws. This stress makes them loosen faster than normal.
How can I tell if my screws are stripped?
A stripped screw won’t tighten no matter how hard you turn it. The screw spins freely without gripping the hole. You’ll feel this difference immediately when attempting to secure it.
Look for these signs: The screw head may be damaged or rounded. You might see metal shavings around the hole. If the screw falls out repeatedly, it’s likely stripped.
What’s the best way to remove a stripped screw?
Use a Dremel tool with a fiberglass cutoff wheel. Carefully cut a straight groove across the top of the stripped screw. This groove gives your screwdriver better grip for removal.
Work slowly to avoid damaging the surrounding mount. Once you’ve created the groove, use a flathead screwdriver to turn and extract the screw. Take your time with this step.
Should I use thread locking compound?
Yes, absolutely. Thread locking compound prevents future loosening. Apply a small amount to your replacement screw before installation. This creates a permanent bond that vibration cannot break.
Choose a removable strength compound. This allows future removal if needed for maintenance or repairs.
How tight should the screws be?
Tighten firmly until you feel solid resistance. Stop before you feel strain or hear cracking sounds. Your goal is snug, not maximum force.
The motor should feel completely stable with no side to side movement. Spin your wheel by hand after tightening to confirm smooth operation.

Hi, I’m Archie Flynn, the founder and writer behind RapidResizerHub! 👋 I’m a passionate tech enthusiast who loves exploring the latest gadgets, smart devices, and trending electronics on Amazon. Through my honest, hands-on reviews and detailed buying guides, I help readers make smarter, well-informed shopping decisions.