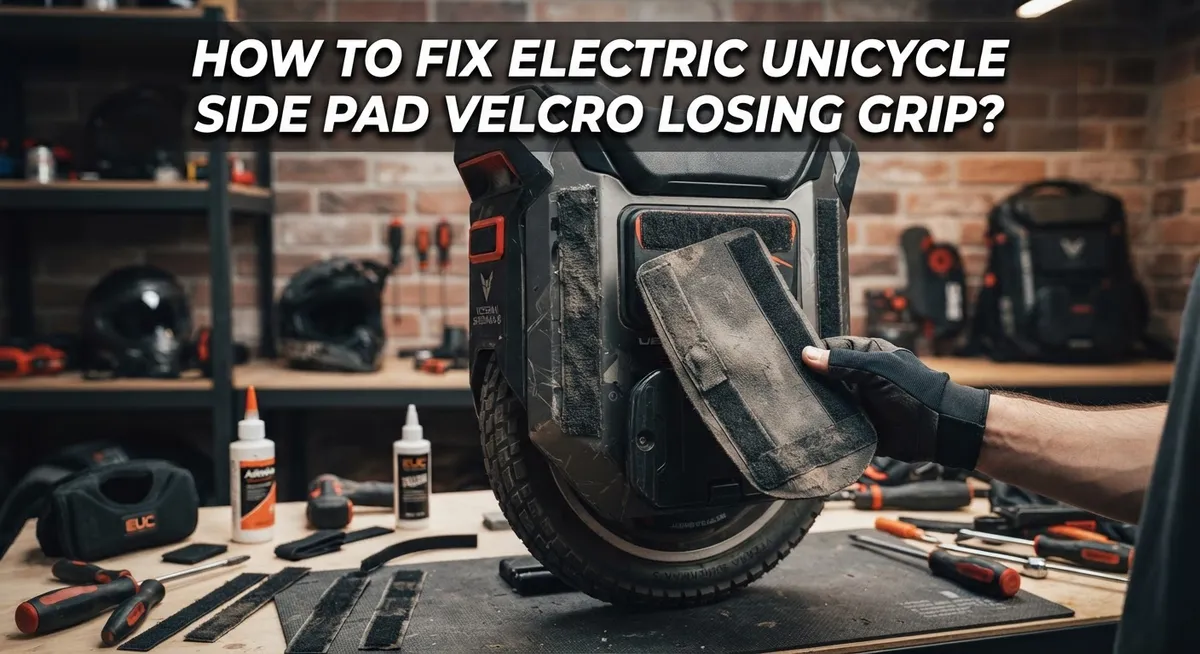
How To Fix Electric Unicycle Side Pad Velcro Losing Grip?
Do your electric unicycle side pads feel loose or wobbly? This happens when the velcro loses its grip over time. Riding puts pressure on these pads every single day.
The result is annoying. Your pads slip during rides. They peel away from the shell. Sometimes they fall off completely at the worst moment.
This problem is common among electric unicycle riders. The good news is you can fix it yourself. You do not need special skills or expensive tools.
This guide will show you exactly how to solve this issue. We will walk through removing old glue properly. You will learn how to clean the surface the right way.
We will also cover choosing the correct hook and loop material. Many riders make simple mistakes here. These mistakes cause the fix to fail again quickly.
You will discover how to apply new velcro correctly. We will explain why weight and pressure matter during curing. This step often gets skipped, but it makes a huge difference.
By the end, your side pads will stay firmly in place. No more slipping, no more frustration. Just a smooth, secure ride every time you hop on your unicycle.
In a Nutshell
Here’s a quick summary to fix your side pad velcro problem:
-
Remove the old velcro slowly. Peel it off the shell with care so you don’t damage the surface underneath.
-
Clean the shell surface completely. Wipe away all old glue residue before you start fresh.
-
Choose true hook and loop velcro. This material pairs correctly and holds much better than other sticky alternatives.
-
Apply the new velcro pieces properly. Match the hook side and loop side in the right spots on your pads and shell.
-
Use weights to hold pads in place. This step helps the pads stay straight while the glue cures.
-
Give it enough curing time. Rushing this step often causes the grip to fail again soon.
Following these points will help your side pads stay firmly attached. Your electric unicycle will feel stable and secure again. This simple fix saves you money and keeps your rides smooth.
Why Side Pad Velcro Loses Grip Over Time
Velcro loses grip on electric unicycle side pads for several clear reasons. Understanding these causes helps you prevent the problem from happening again.
Friction and movement wear down velcro fibers. Every time you ride, your legs rub against the side pads. This constant friction breaks down the tiny hook structures on the velcro. The loop material gets flattened and matted over time. Both surfaces gradually lose their ability to grip each other.
Moisture and sweat damage the adhesive. Your legs produce sweat during rides. This moisture seeps into the velcro and weakens the glue underneath. Salt from perspiration also corrodes the adhesive bond. Heat from friction makes this process happen faster.
Poor initial installation causes early failure. If the surface wasn’t clean before applying velcro, dust and oils prevent proper contact. Air bubbles trapped under the velcro create weak spots. These spots separate first during use.
Low quality velcro materials fail quickly. Not all hook and loop products are equal. Some velcro uses inferior adhesive that doesn’t handle moisture well. Cheap materials have shorter hook fibers that flatten easily.
Temperature changes affect adhesive strength. Riding in different weather conditions stresses the glue. Cold temperatures make adhesive brittle. Heat makes it soften and lose stickiness.
Incorrect hook and loop pairing reduces performance. Using mismatched hook and loop materials means they don’t grip properly. One side might be too rough or too smooth. This mismatch causes slipping even when freshly applied.
Extended curing time wasn’t allowed. If you rode immediately after applying new velcro, the adhesive didn’t fully set. Premature use pulls the velcro away before bonding completes.
Knowing these causes helps you fix the problem correctly and keep your side pads secure longer.
Tools and Materials You’ll Need
Before you start fixing your electric unicycle side pad velcro, gather the right supplies. Having everything ready makes the job faster and easier.
Cleaning supplies are essential first. You need rubbing alcohol or a degreaser to remove old adhesive and dirt. A clean cloth or paper towels work well for wiping surfaces. Some people use a plastic scraper to gently lift old velcro pieces without damaging the shell underneath.
For velcro removal, get a heat source. A hair dryer helps soften the adhesive so velcro peels away more easily. This prevents gouging or scratching your unicycle shell. Work slowly and carefully during this step.
New velcro material is your main component. Purchase genuine hook and loop velcro, not substitute products like adhesive dots or dual lock systems. True hook and loop velcro has two sides that grip each other properly. The hook side feels rough and scratchy. The loop side feels soft and fuzzy. Both pieces must work together for lasting grip.
Weighting materials help during installation. Heavy books, sandbags, or weights press the new velcro firmly while the adhesive sets. This creates a strong bond between the velcro and your unicycle shell.
Optional tools make work smoother. A ruler helps position velcro pieces straight and centered. Masking tape temporarily holds pads in place while you align them. A small brush applies adhesive evenly if you use separate glue instead of self adhesive velcro.
Don’t skip safety items. Wear gloves to protect your hands from adhesive and rough velcro edges. Good lighting helps you see exactly where you’re working. These basic supplies ensure your repair lasts through many rides ahead.
Step-by-Step: Removing Old Velcro and Adhesive Residue
Removing old velcro and adhesive residue requires patience and the right approach. Start by heating the old velcro with a hair dryer on medium heat for 30 to 60 seconds. This softens the adhesive underneath and makes peeling much easier.
Peel the velcro slowly from one corner. Pull at a shallow angle rather than straight up. Rushing this step can damage the shell surface or leave stubborn residue behind.
Once you remove the velcro strips, you’ll likely see adhesive residue remaining on the shell. This leftover glue must come off completely. Use rubbing alcohol or a degreaser on a soft cloth to wipe away all traces of old adhesive.
Work in small circular motions across the affected area. Let the alcohol sit for a minute if the residue feels particularly stubborn. Wipe again with a clean cloth until the surface feels smooth and tacky residue disappears.
Check the shell surface carefully under good lighting. Run your finger across the area where velcro was attached. You should feel no bumps, stickiness, or rough spots remaining.
Allow the cleaned surface to dry completely before proceeding. This typically takes 5 to 10 minutes depending on humidity levels. Moisture trapped under new velcro will prevent proper adhesion and cause future failure.
Proper surface preparation is critical for long term success. A clean, dry shell accepts new velcro adhesive much more effectively. Your side pads will grip firmly and stay attached through regular riding and sweat exposure when you complete this step thoroughly.
Step-by-Step: Cleaning and Prepping the Shell Surface
The shell surface needs careful attention before you attach new velcro. This step determines whether your repair lasts weeks or months.
Start by inspecting the entire area where the old velcro sat. Use bright lighting to spot any remaining adhesive, dust, or debris. Run your finger across the surface to feel for bumps or sticky spots that need removal.
Grab rubbing alcohol or a degreaser and apply it to a clean cloth. Wipe the shell surface thoroughly in circular motions. This removes oils from your skin, sweat residue, and any leftover adhesive particles. Pay special attention to the edges where velcro once attached.
For stubborn adhesive spots, let the alcohol soak for a few minutes. Then gently scrape with a plastic tool or old credit card. Avoid metal scrapers that can damage the shell material. Work slowly and check your progress frequently.
Dry the surface completely before moving forward. Use a clean, dry cloth and let it air dry for at least 30 minutes. Any moisture remaining will weaken the new velcro bond.
Check the shell surface one final time under good lighting. It should feel smooth, dry, and free of sticky spots. If you see any shiny patches, those are likely oils or residue. Wipe them away with alcohol again.
The surface is ready when it feels clean and matte to your touch. A properly prepared shell accepts new velcro adhesive much more effectively. This preparation step takes only minutes but makes a huge difference in how long your repair lasts.
Step-by-Step: Applying New Hook-and-Loop Velcro Correctly
Start by measuring your side pad area carefully. Use a ruler to mark where your new velcro strips should go. This ensures proper alignment and prevents crooked placement that causes uneven grip.
Cut your hook and loop velcro to match the exact dimensions of your side pads. The hook side (rough texture) attaches to the unicycle shell. The loop side (soft texture) attaches to the pad itself. Make sure both pieces are cut identically for balanced pressure distribution.
Apply the hook side first to your cleaned shell surface. Press it down firmly starting from the center and work outward toward the edges. This removes air bubbles that weaken adhesion. Hold steady pressure for at least 30 seconds on each section.
Next, apply the loop side to the back of your side pad. Use the same center to edge pressing technique. Proper contact between surfaces is essential for lasting grip strength.
Position your side pad onto the shell carefully. Align it straight using your ruler as a guide. Press down with even pressure across the entire pad surface. Avoid twisting or adjusting once initial contact happens.
Place heavy weights directly on top of the pad. Use books, sandbags, or dedicated weights to maintain consistent downward pressure. This pressure helps the adhesive set properly and creates a stronger bond.
Leave the weights in place for the full curing time recommended by your velcro manufacturer. Most adhesives need 24 hours minimum before use. Removing weights too early causes the velcro to separate again.
After curing completes, test the grip by gently pulling on the pad edges. It should feel solid and immovable. Your side pads are now ready for riding.
Curing Time and Weighting Techniques for a Lasting Bond
Curing time is when your new velcro bond becomes strong and permanent. This step determines whether your side pads stay attached or peel away again during rides.
Most velcro products require between 24 and 72 hours of curing time. Check your specific velcro packaging for the exact duration. Rushing this process is a common mistake that leads to early failure.
Weighting is essential during curing. Heavy pressure keeps the hook and loop materials pressed together firmly. This contact allows the adhesive to set properly across the entire pad surface.
Place weights directly on top of your side pad while it cures. Use items like dumbbells, books, or other heavy objects. The weight should distribute evenly across the entire pad, not just one section. Aim for at least 5 to 10 pounds of pressure per pad.
Keep the unicycle stationary during the entire curing period. Movement or vibration disrupts the bonding process and weakens the adhesive connection. Store your wheel in a dry, temperature stable location.
Temperature matters too. Cold environments slow down curing, while heat speeds it up. Room temperature around 70 degrees Fahrenheit is ideal. Avoid placing your wheel in direct sunlight or near heating vents.
After curing finishes, remove the weights gradually. Don’t yank the pad suddenly. Test the grip by gently pulling on the pad edges to confirm the bond is solid.
If you notice any soft spots or areas with weak adhesion, add more weight to those sections for an additional 24 hours. Patience during curing prevents expensive repairs later and keeps your side pads secure for many rides ahead.
Common Mistakes That Cause Repeat Velcro Failure
Many riders repeat the same mistakes that cause their velcro to fail again and again. Understanding these errors helps you avoid the frustration of replacing pads multiple times.
The wrong velcro product is the biggest culprit. Some people use 3M Dual Lock or similar alternatives thinking they work the same way. These products lack the true hook and loop structure that real velcro has. The hooks don’t grip the loops properly, so the bond fails quickly under riding pressure. Always choose actual hook and loop velcro designed for this purpose.
Rushing surface preparation destroys your results. Many riders skip cleaning steps or don’t wait for surfaces to dry completely. Any dust, oil, or old adhesive residue creates a barrier between your shell and the new velcro. The pad will peel away within days because nothing sticks properly. Take time to clean thoroughly and let everything dry fully.
Inadequate pressure during curing causes weak bonds. Some riders assume a light weight is enough. Your velcro needs firm, consistent pressure to fuse correctly. Light pressure leaves air pockets between the hook and loop materials. These gaps become failure points when you ride.
Removing weights too early is another common error. Velcro looks dry after 24 hours, but the adhesive bond isn’t fully set. Taking off weights prematurely means the materials haven’t bonded completely. Wait for the full recommended curing time before removing any weight.
Temperature neglect also causes problems. Cold environments dramatically slow curing. Applying velcro in winter and expecting 24 hour results won’t work. Plan your repairs during warmer times or provide heat to speed the process.
Troubleshooting Persistent Slipping or Peeling Issues
When your side pad velcro keeps slipping or peeling, the problem usually comes from one of three sources: improper surface prep, wrong velcro type, or weak adhesive contact during curing.
Start by identifying where the slipping happens. Does the pad lift at the edges first? Does it peel from one corner? This tells you if the issue is uneven pressure, incomplete surface cleaning, or poor velcro selection.
Remove the old velcro completely. Use a plastic scraper to lift the adhesive slowly without scratching your shell. Any leftover glue residue creates a barrier that prevents new velcro from bonding properly. Take your time here. Rushing this step almost guarantees failure.
Clean the shell surface with rubbing alcohol and let it dry completely. Moisture trapped under velcro causes peeling. Wipe the area multiple times until no residue remains.
Verify you’re using true hook and loop velcro. Some riders mistakenly use other adhesive products that look similar but lack the proper hook and loop structure. True velcro has distinct textures on each side. One side feels rough and scratchy (hook), while the other feels soft and fuzzy (loop).
Apply firm, even pressure during the entire curing window. This is critical. Light pressure or uneven weighting creates soft spots where the pad will eventually lift. Distribute weight across the entire pad surface, not just the center.
If slipping persists after proper installation, check your pad positioning. Misaligned pads can shift during use, stressing the velcro bond. Ensure your pad sits flat and centered on the shell before applying any adhesive.
Final Thoughts
Fixing your electric unicycle side pad velcro does not need to be hard. Patience and the right steps make all the difference.
Start by removing old glue with care. Rushing this step often leaves residue behind. That residue stops new velcro from sticking well.
Always clean the shell surface before you attach anything new. A clean surface helps the hook and loop system bond properly. Skipping this step is one of the biggest reasons pads fail again.
Choose true velcro, not a substitute. Some products look similar but lack the real hook and loop structure. This mismatch causes pads to slip within days.
Weighting your pad during curing is essential. Pressure keeps both velcro layers pressed together as the bond forms. Without enough weight, the grip stays weak even after it feels dry.
Give your repair enough time. Curing takes patience, and removing weights too soon undoes your hard work. Wait for the full curing window before you trust the bond.
If your pad still slips after all this, check its position again. Sometimes the issue is not the velcro at all. It could be how the pad sits against the shell.
Every unicycle rider deals with wear over time. Side pads take a lot of pressure during daily rides. Regular checks help you catch problems early.
Small fixes now save you bigger headaches later. A well attached side pad keeps your ride comfortable and secure. Following these steps helps your repair last much longer.
With the right materials, proper cleaning, and enough curing time, your side pad velcro can stay firm for months. Careful preparation truly makes all the difference.
Frequently Asked Questions
Why does my side pad velcro lose grip so quickly?
Velcro fails fast when the surface isn’t clean before attachment. Dust, dirt, and old adhesive residue block the new velcro from bonding properly. Your shell needs rubbing alcohol and complete drying time. Another reason is incorrect velcro type. Many riders grab adhesive products that look like velcro but lack the proper hook and loop structure. True velcro has two sides that interlock. Without this design, your pad will slip no matter how hard you press.
How long should I wait before using my unicycle after reattaching the velcro?
Wait at least 24 hours before riding. Most adhesives feel dry to the touch after a few hours, but the bond is still weak. The glue needs full curing time to reach maximum strength. Keep weight on your pad during this entire period. Use books, sandbags, or other heavy objects to press the velcro down. Remove the weights only after the full curing window passes. Rushing this step guarantees another failure soon.
Can I reuse old velcro or must I replace it completely?
Replace it completely. Old velcro loses its grip permanently once it peels away. The hook side becomes matted and flattened. The loop side fills with dust and lint. Reusing old velcro wastes your time and effort. Start fresh with new material every time. Your repair will last much longer with a fresh velcro pair.
What’s the best way to remove old adhesive from my shell?
Work slowly and carefully. Use a plastic scraper or old credit card to lift the edges gently. Peel away the adhesive in small sections rather than yanking it all at once. Once removed, wipe the shell with rubbing alcohol on a cloth. Let it dry completely before applying new velcro. This cleaning step determines your entire repair success.

Hi, I’m Archie Flynn, the founder and writer behind RapidResizerHub! 👋 I’m a passionate tech enthusiast who loves exploring the latest gadgets, smart devices, and trending electronics on Amazon. Through my honest, hands-on reviews and detailed buying guides, I help readers make smarter, well-informed shopping decisions.