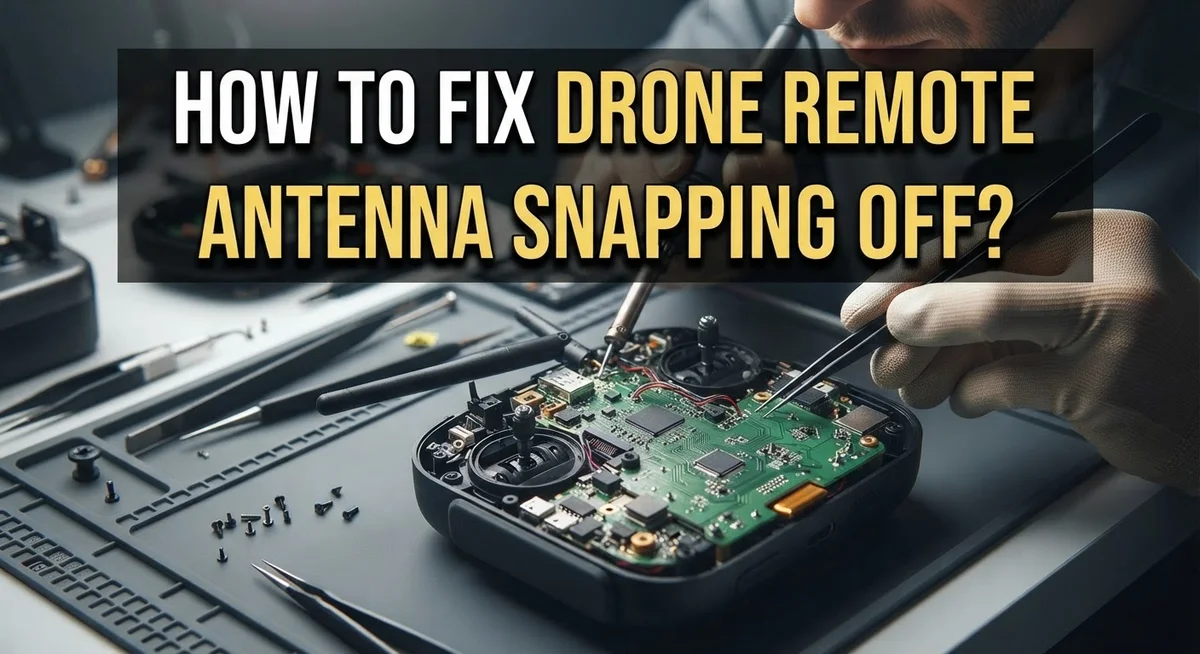
How To Fix Drone Remote Controller Antenna Snapping Off?
Your drone remote controller antenna snaps off at the worst possible moment. One minute you are flying smoothly. The next, your antenna dangles loose or falls out completely.
This problem happens more often than you think. Loose antenna bases and weak connectors cause this frustrating issue. Many pilots face this exact struggle during flights.
The good news? You can fix this problem yourself. You do not need expensive tools or professional help.
This guide walks you through simple solutions that actually work. We cover quick fixes you can apply right now. You will learn how to secure loose antenna bases properly.
We also explain repair steps for more serious damage. These methods use basic materials you likely already own.
You will discover common mistakes that make this problem worse. Avoiding these mistakes saves you time and frustration.
Finally, we share prevention tips to stop this issue from happening again. Your controller deserves better care than a snapped antenna.
Ready to fix your antenna and get back to flying? Let us jump into the solutions that work.
In a Nutshell
A snapped antenna does not mean your controller is done for. Here is a quick recap of what you need to know.
-
Loose bases are often the real problem. A small Velcro strip keeps the antenna steady without blocking the controller from closing properly.
-
Alignment matters most when reconnecting antennas. Press the circular connector gently and push it straight into the socket. Never force it in.
-
For bigger damage, use short PVC pipe sleeves around a half inch wide. These act as sturdy reinforcement and protect the antenna from future stress.
-
Test the fit before you close up your controller. This simple step saves you from repeating the whole repair process again.
-
Avoid over tightening connections. This creates tiny fractures that lead to bigger problems later on.
-
Regular checks and gentle handling during storage keep your antenna secure for the long run.
With these points in mind, you are ready to tackle the actual fix.
Why Drone Controller Antennas Snap Off or Come Loose
Drone controller antennas snap off or come loose for several clear reasons. Understanding why this happens helps you prevent it in the future.
Impact and pressure are the main culprits. When you drop your controller or place it on a hard surface, the antenna absorbs the shock. The connector joint is not designed to handle sudden force. Over time, repeated impacts weaken the base until it fails.
Improper storage and transport cause many antenna problems too. Antennas stick out from your controller, making them easy targets for damage. Tossing your controller into a bag without protection puts pressure on the antenna base. The connector slowly loosens as the controller moves around.
Misalignment during reconnection creates stress. If you push an antenna into the socket at an angle, the connector twists slightly. This tiny misalignment adds strain to the joint every time you use the controller. Eventually, the connector cracks or snaps.
Over tightening the antenna connection is another common issue. Many people think a tight connection means a secure one. Actually, excessive force damages the threads or the connector itself. The antenna becomes weaker, not stronger.
Poor quality manufacturing affects some controllers more than others. Some antenna bases use thin plastic that breaks easily. The connector design on certain models makes them more prone to snapping. This is why some people experience repeated antenna failures.
Moisture and temperature changes also play a role. When plastic gets wet and then dries, it becomes brittle. Temperature swings cause the plastic to expand and contract. These changes weaken the antenna base over months of use.
Regular inspection catches problems early. Check your antenna connections before each flying session. Look for cracks, loose movement, or gaps where the antenna meets the controller. Catching these signs early stops a small problem from becoming a broken antenna.
Signs Your Antenna Connection Is Failing
Your antenna connection might be failing before it completely snaps off. Learning to spot these warning signs helps you fix the problem early and avoid losing your drone mid flight.
Loose antenna movement is the first red flag. Grab your antenna gently and wiggle it side to side. If it moves more than a tiny bit, the connection is wearing out. A healthy antenna should feel solid and barely move when you apply light pressure.
Listen for clicking or popping sounds when you rotate your antenna. These noises mean the connector is not seating properly in the socket. The circular end of the antenna connector may be slightly worn or misaligned. This creates gaps that allow movement and stress on the connection.
Check if your controller housing does not close completely. When the antenna base sits loose, the controller door or panel will have gaps. You might need to force it shut or notice it pops open on its own. This is a clear sign the antenna needs attention before it breaks.
Signal strength problems can also indicate antenna issues. If you notice your drone loses connection more often or seems to lag, a failing antenna might be the cause. Weak or intermittent signal often happens before physical failure occurs.
Inspect the antenna base where it enters the controller. Look for small cracks, bent pins, or discoloration around the connector. These visual clues show stress is building up. The metal parts may look tarnished or corroded if moisture has gotten inside.
Feel for any grinding sensation when you insert or remove the antenna. Smooth motion means everything is fine. Resistance or grinding tells you the connector is damaged or misaligned.
Catching these signs early lets you take action. A simple fix now prevents a broken antenna later and keeps your flights safe and uninterrupted.
Quick Fix: Securing a Loose Antenna Base with Velcro
A loose antenna base often prevents your controller from closing properly. This simple issue stops many flyers before they even get airborne. The good news is that Velcro offers a quick and effective solution.
Start by cleaning both the antenna base and the inside of your controller housing. Use a dry cloth to remove dust and debris. This step ensures the Velcro adheres properly and creates a secure bond.
Cut a small Velcro strip to fit your antenna base. The strip should be roughly the size of a postage stamp. You want enough material for grip without adding bulk that blocks the controller closure.
Apply the hook side of the Velcro to the antenna base. Press it firmly for several seconds. Make sure it sits flat and does not bunch up at the edges.
Now apply the loop side inside your controller housing. Position it where the antenna base naturally rests when you insert the antenna. Press down hard so it sticks securely.
Test the connection by inserting your antenna. The Velcro should hold it in place without sliding or rotating. Your controller should close smoothly without forcing.
This method works because Velcro provides gentle but firm resistance. It prevents the antenna from shifting during flight operations. The connection remains stable even during takeoff and landing.
Check your setup regularly. Over time, Velcro can lose stickiness. Replace it if you notice the antenna moving or if the controller stops closing properly.
This fix takes only five minutes and costs almost nothing. You keep your antenna secure while maintaining easy access for adjustments or storage. Most importantly, your controller functions normally without any modification to the actual connector or socket. Your antenna stays put, and you get back to flying quickly.
Step-by-Step Guide to Reconnecting and Reinforcing the Antenna
Before you start reconnecting your antenna, gather a few basic items. You’ll need your drone controller, the antenna that came loose, and some common household supplies. Have a clean workspace ready so you can see all the small parts clearly.
First, examine the antenna connector carefully. The circular end should be slightly flexible, not rigid. Look at the socket inside your controller where the antenna inserts. Make sure both parts are clean and free from dust or debris. Gently wipe them with a dry cloth if needed.
Now comes the critical reconnection step. Hold the antenna at a straight angle to the socket. Press the circular connector end firmly and insert it straight down into the opening. You should feel a solid click or resistance when it seats properly. Never push at an angle or force it sideways, as this causes the connector to twist and crack.
Once reconnected, test the fit before closing your controller. Rotate the antenna gently to confirm it’s secure. It should not wobble or move loosely in the socket.
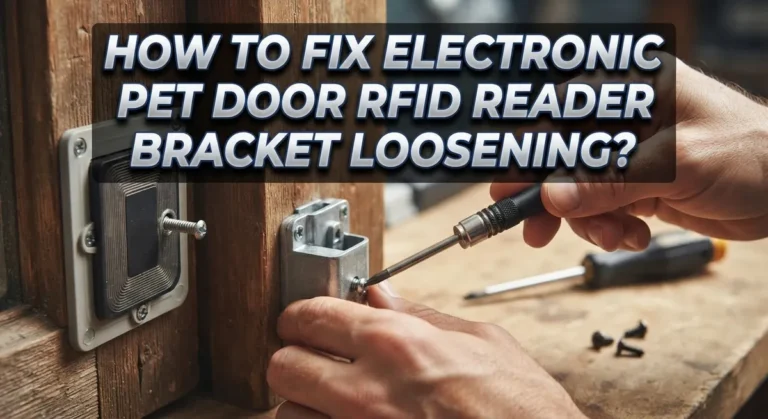
For reinforcement, consider using a half inch PVC pipe sleeve around the antenna base. Cut a one and a half inch length and slide it over the antenna where it enters the controller. This protects the connection from bending stress during normal use.
Route your antenna properly through the controller housing before final assembly. Make sure it doesn’t get pinched or twisted as you close the casing. Check that your controller closes completely without gaps or pressure points around the antenna area.
Test your controller’s signal strength after reconnection. Walk a short distance away and verify that your drone responds normally to commands. If everything works smoothly, your antenna is properly seated and ready for regular use.
Using PVC Pipe Sleeves for Long-Term Reinforcement
PVC pipe sleeves offer a practical way to protect your antenna from future damage. This method works by adding a protective layer around the antenna base where stress typically occurs.
Start by measuring your antenna base diameter. You need a PVC pipe that fits loosely around the antenna without forcing it. A half inch PVC pipe works well for most drone controllers. Cut the pipe into 1.5 inch lengths using a basic saw or pipe cutter.
Before sliding the sleeve onto your antenna, clean the antenna base thoroughly. Remove any dirt or residue that might prevent a smooth fit. Dry it completely with a soft cloth.
Gently slide the PVC sleeve over the antenna base. The sleeve should move freely without binding. This allows your antenna to rotate naturally while the pipe protects the connection point from bending stress.
Position the sleeve so it covers the area where the antenna enters the controller housing. This is where snapping typically happens. The pipe distributes force across a wider area instead of concentrating it at one spot.
Route your antenna through the controller housing carefully. Make sure the PVC sleeve doesn’t interfere with the housing closure. Test the fit several times before final assembly to catch any problems early.
Once everything sits properly, reconnect your antenna to the controller. Verify that the controller closes completely without gaps. Check that your antenna rotates smoothly without the sleeve catching or binding.
Test your signal strength after installation. Strong signal indicates proper antenna positioning and connection. Weak signal might mean the sleeve is pinching the antenna or the connection isn’t fully seated.
This reinforcement method works long term because PVC pipe distributes stress evenly. It prevents the concentrated bending that causes snapping. Regular inspection every few weeks keeps your antenna in good condition and catches any wear before problems develop.
Common Mistakes That Cause Repeated Antenna Failures
Many drone pilots repeat the same mistakes that damage their antennas. Understanding these errors helps you avoid costly replacements and keeps your controller working reliably.
Forcing the antenna into the socket without proper alignment causes the most common damage. The connector has a circular end that needs to match the socket opening perfectly. When you push too hard at an angle, the connector bends or cracks inside the housing. Always pause and check the alignment before applying pressure.
Over tightening connections creates stress fractures that weaken the antenna base. Your antenna should sit snugly but not require excessive force. If you feel strong resistance, stop and recheck the alignment. Excessive pressure signals a misalignment problem, not a secure connection.
Neglecting to secure loose bases before closing your controller leads to repeated failures. A loose antenna base shifts during use and eventually snaps. Before you close your controller, verify that the antenna sits firmly in place. Gently tug on the antenna to confirm it won’t move.
Poor storage habits damage antennas between flights. Tossing your controller into a bag with the antenna extended leaves it vulnerable to bending and stress. Always store your controller in a protective case with antennas either removed or properly secured.
Failing to inspect connections regularly allows small problems to become major issues. Loose connections worsen over time and eventually fail completely. Check your antenna connections every few flights. A quick visual inspection takes seconds but prevents expensive damage.
Routing antennas incorrectly through the controller housing creates unnecessary stress points. The antenna should follow the natural path through your controller without sharp bends. Improper routing causes the antenna base to bear too much weight and pressure.
These mistakes compound over time, making repeated antenna failures seem inevitable. However, simple awareness and careful handling eliminate most problems. Focus on gentle alignment, proper storage, and regular inspections to keep your controller functioning smoothly.
Preventive Maintenance Tips for Antenna Longevity
Regular antenna maintenance keeps your drone controller working smoothly for years. Start by checking your antenna connections every time you fly. A quick visual inspection takes only seconds but prevents major problems.
Clean your antenna base regularly to remove dust and debris. Dirt buildup weakens the connection between your antenna and controller socket. Use a soft, dry cloth to wipe the connector gently. Never use water or harsh chemicals on electronic components.
Store your antennas properly between flights. Keep them upright in a safe location away from extreme heat or cold. Avoid bending or twisting the antenna shaft during storage. Proper storage prevents the internal components from becoming loose or misaligned.
Check the antenna socket inside your controller for any visible damage. Look for bent pins, cracks, or discoloration around the connection point. If you notice problems early, you can address them before they cause complete failure.
Tighten antenna connections gently by hand only. Never use tools to force connections. Hand tightening gives you better control and prevents over-tightening that causes stress fractures. Your antenna should feel snug but not strained.
Rotate your antennas occasionally during storage. This prevents the connector from sitting in the same position for long periods. Rotation helps maintain the flexibility of the connection point and reduces wear patterns.
Transport your controller in a protective case designed for drones. This shields your antennas from accidental bumps and pressure during travel. A good case prevents the antenna from bending at awkward angles during transport.
Monitor your signal strength during flights. Weak signals sometimes indicate a loose antenna connection before visible damage appears. Strong, consistent signal strength tells you your antenna connection remains solid.
These simple maintenance habits extend antenna life significantly. Spend just a few minutes each week on these tasks to avoid expensive repairs or replacements.
Final Thoughts
A snapped antenna does not mean your controller is useless. You can fix this problem with simple tools and a bit of patience.
Small fixes make a big difference. A Velcro strip or a PVC sleeve can restore your antenna’s stability. These methods cost little but save your controller from bigger damage.
Prevention matters more than repair. Check your antenna connections often. Handle your controller gently during storage and transport.
Many pilots ignore small wobbles in their antenna base. This small issue often turns into a full snap later. Catching problems early saves time and frustration.
Remember that proper alignment is your best friend during any fix. Never force parts together. A calm, steady approach always works better than rushing.
Your drone depends on a stable connection between the controller and the aircraft. A broken antenna weakens this link and affects your flight control.
Taking a few minutes to inspect and reinforce your antenna keeps your drone safe in the sky. It also protects your controller from repeated damage.
This fix is not complicated. Most drone pilots can complete it at home with basic tools. You do not need special skills or expensive parts.
The key lies in consistency. Regular checks, gentle handling, and quick fixes when needed will keep your antenna strong for a long time.
A well maintained antenna means fewer signal issues and safer flights. This small effort protects your drone experience overall.
In the end, fixing an antenna is simple once you understand the steps. With the right care, your controller will serve you reliably for many more flights.
Frequently Asked Questions
Why does my antenna keep falling out of the socket?
Your antenna likely has a loose base that doesn’t seat firmly into the controller socket. The connector end is slightly flexible by design. When you insert it, the circular end compresses slightly. If you don’t push hard enough, it won’t lock into place properly.
Press the antenna connector straight into the socket with firm, steady pressure. Make sure it’s fully seated before closing your controller. A loose antenna will pop out during operation or when you close the case.
Can I fix a snapped antenna base myself?
Yes, you can reinforce a weakened antenna base using a simple sleeve method. Disconnect the antenna from your controller first. Take a short piece of PVC pipe (about 1.5 inches long) and slide it over the antenna base as reinforcement.
This sleeve prevents the base from bending at the stress point where it connects to the socket. Route the antenna properly through your controller housing so it doesn’t bend at odd angles. Reconnect and test the fit before final assembly.
What’s the best way to keep my antenna secure?
Apply a small Velcro strip to the antenna base for extra grip. This holds the antenna firmly in place while still allowing your controller to close normally. The Velcro prevents movement without adding stress to the connection point.
Check your antenna connections every few flights. A small wobble now becomes a major problem later. Gentle hand tightening is all you need. Never force the antenna into the socket or twist it while inserting.
How do I store my controller to prevent antenna damage?
Keep your antenna pointing straight up when storing your controller. Avoid bending or folding the antenna against the case. Store the entire controller in a protective carrying case designed for drones.
Don’t leave your antenna exposed during transport. Pressure or impacts can crack the base even if you don’t notice visible damage immediately.

Hi, I’m Archie Flynn, the founder and writer behind RapidResizerHub! 👋 I’m a passionate tech enthusiast who loves exploring the latest gadgets, smart devices, and trending electronics on Amazon. Through my honest, hands-on reviews and detailed buying guides, I help readers make smarter, well-informed shopping decisions.