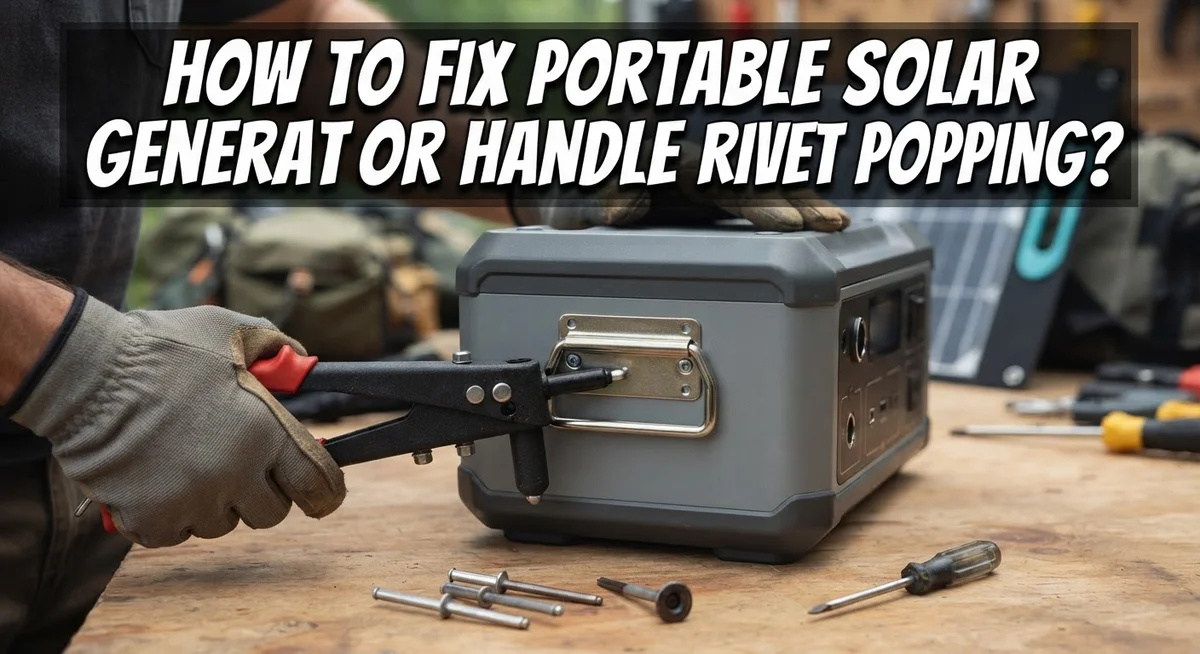
How To Fix Portable Solar Generator Handle Rivet Popping?
Your portable solar generator keeps your gear powered on camping trips and during outages. But nothing ruins the experience faster than a loose or popped handle rivet.
You lift your generator and suddenly hear that dreaded pop. The handle wobbles. Your confidence in carrying it safely drops instantly.
This problem happens more often than you think. Cheap rivets, constant weight stress, and rough handling all contribute to this common failure.
The good news? You can fix this issue yourself with basic tools and a little patience.
This guide walks you through everything you need to know. We will show you how to remove the damaged rivet safely. You will learn proper techniques for cleaning the hole and installing a new one.
We also cover better alternatives like rivnuts and screw and nut combinations. These options often outlast standard rivets.
By the end of this article, you will know exactly how to stop that annoying pop. Your generator handle will feel solid and secure again. Let’s get started on this simple repair.
In a Nutshell
Here’s a quick recap of the fix in simple steps:
-
Remove the old rivet first. Use a drill or a rivet removal tool to take it out safely.
-
Clean the hole before you do anything else. Dirt or metal shavings can stop the new rivet from sitting right.
-
Pick the correct rivet size. A wrong size rivet will not hold your handle properly.
-
Apply sealant around the rivet during installation. This keeps moisture out and stops rust from forming.
-
Use a rivet gun correctly. Set the rivet firmly so it grips both layers of metal tight.
-
Test the handle once you finish. Give it a gentle pull to check the connection is solid.
You can also switch to rivnuts or screw and nut combos. These options often last longer than standard rivets.
Avoid rushing the job. Skipping steps like cleaning or sealing often leads to the same problem again soon. Take your time and your handle will stay secure for years.
Understanding Why Handle Rivets Pop on Portable Solar Generators
Pop rivets fail on portable solar generators for several specific reasons. Understanding these causes helps you prevent future problems and fix the current one properly.
Moisture is the main culprit. Rain, humidity, and condensation seep into the rivet hole over time. Water causes the metal to rust and weaken from the inside out. The rivet loses its grip on the handle bracket, and eventually it pops free.
Vibration and movement also break rivets. Every time you carry your generator, the handle moves slightly. This constant flexing stresses the rivet connection. Poor installation makes this worse because the rivet never seated firmly in the first place.
Incorrect rivet size creates gaps between the rivet and hole. A loose fit means the rivet cannot hold the handle properly. The metal surfaces don’t make solid contact, so the connection fails faster.
Improper rivet gun technique leaves rivets partially set. If you don’t squeeze the gun handle completely, the rivet doesn’t expand fully inside the hole. This creates a weak connection that pops under normal use.
Cheap or low quality rivets simply cannot handle the stress. Some manufacturers use rivets that are too small or made from soft metal. These fail quickly no matter how well you install them.
Material fatigue happens over years of use. Even properly installed rivets eventually weaken from repeated stress cycles. The metal becomes brittle and breaks under load.
Understanding these causes helps you make better choices during repair. You will know why the original rivet failed and how to prevent it from happening again. This knowledge guides you toward choosing stronger fastening methods for your replacement.
Tools and Materials You’ll Need for the Repair
Before you start fixing that popped rivet, gather the right tools and materials. Having everything ready makes the job faster and easier.
You’ll need a drill with a metal bit to remove the damaged rivet. A standard drill works fine for this task. The bit size should match your rivet diameter closely.
A rivet removal tool offers an alternative if you prefer not to drill. This specialized tool grips and pulls out the old rivet without damaging the surrounding material. Both methods work equally well.
Pick up a rivet gun (also called a pop rivet tool). Manual rivet guns work great for small repairs like this. They’re affordable and simple to use. Pneumatic versions exist too, but you likely won’t need one for a single handle repair.
Get replacement rivets that match your original specifications. Check your generator’s manual for the exact size and type. Common sizes include 3/32 inch and 1/8 inch diameters. Aluminum rivets work best for most portable solar generators.
Sealant or waterproof caulk prevents future moisture problems. This stops rain and humidity from entering the rivet hole again. Apply it during installation for maximum protection.
You’ll also want safety glasses to protect your eyes from metal debris. Work gloves keep your hands safe during drilling and rivet removal.
A wire brush or cleaning cloth helps remove rust and dirt from the hole before installing the new rivet. Clean holes create stronger connections.
Finally, grab a flashlight or headlamp. You need good visibility to see the rivet hole clearly and work accurately. Proper lighting makes the entire repair process smoother and safer for you.
Step-by-Step Guide to Removing the Damaged Rivet
Start by securing your portable solar generator on a flat, stable work surface. This prevents the unit from moving while you work on the handle. Wear your safety glasses before you begin, as metal shavings will fly when you drill out the old rivet.
Locate the damaged rivet on the handle. You’ll see it as a small metal fastener that either looks loose or has already separated from the handle completely. Mark this spot with a marker if the rivet is hard to see.
Use your drill with a metal bit sized slightly larger than the rivet shaft. Position the drill bit directly in the center of the rivet. Apply steady, moderate pressure as you drill straight through the rivet. Let the drill do the work—don’t force it.
Drill until the rivet head separates completely from the handle. You may hear a small pop or feel the resistance change when this happens. Continue drilling until the entire rivet shaft falls out or can be easily pulled away.
If drilling feels risky or you lack a drill, use a rivet removal tool instead. This specialized tool grabs the rivet stem and pulls it out without damaging the surrounding handle material. Follow the tool’s instructions for your specific model.
Once the old rivet is out, inspect the hole carefully. Look for any cracks, deformation, or rough edges around the opening. These damage signs mean you may need professional repair beyond simple rivet replacement.
Use your wire brush or cleaning cloth to remove all rust, dirt, and debris from inside and around the hole. A clean hole ensures your new rivet seats properly. Wipe away any loose particles with a dry cloth before proceeding to rivet installation.
How to Properly Clean and Prep the Mounting Hole
After removing the damaged rivet, your mounting hole needs proper preparation before installing a new one. This step prevents future failures and ensures a strong, lasting connection.
Start by examining the hole itself. Look for cracks, enlarged edges, or deformed walls around the opening. If the hole is damaged beyond repair, you may need to drill a new one slightly offset from the original location. A clean hole is essential for proper rivet seating.
Use a wire brush to scrub inside and around the hole thoroughly. Remove all rust, corrosion, and debris that accumulated over time. Pay special attention to the hole’s interior walls. Debris trapped inside prevents the rivet from sitting flush against the metal surface.
Wipe the area with a clean, dry cloth. Moisture inside the hole causes rust to form on your new rivet before you even set it. Let the area air dry completely if you used water during cleaning.
Inspect the hole diameter carefully. If it’s enlarged or damaged, use sandpaper to smooth rough edges around the opening. Smooth edges help the rivet seat properly and create a tighter connection.
Apply a thin layer of waterproof sealant around the hole’s edges. This prevents moisture from entering the space between the rivet and metal. Use sealant sparingly to avoid excess material that could interfere with rivet installation.
Check that your replacement rivet matches the original specifications. The diameter and length must fit your prepared hole exactly. Mismatched sizes create gaps that allow water infiltration and rivet failure.
Your mounting hole is now ready for the new rivet. Proper preparation takes just a few minutes but significantly extends your handle’s lifespan and prevents repeated repairs.
Installing and Setting the Replacement Rivet Correctly
Now that your hole is clean and prepped, it’s time to install the replacement rivet correctly. This step determines whether your handle stays secure or fails again.
Start by inserting the new rivet into the cleaned hole. Make sure the rivet shaft goes through completely and the head sits flat against the handle surface. The rivet should fit snugly without forcing it. If you need to wiggle it slightly to get it seated, that’s normal.
Position your rivet gun over the rivet stem. The gun’s nose piece should grip the stem firmly. Hold the gun perpendicular to the handle surface. Pulling at an angle creates uneven pressure and weak connections.
Squeeze the rivet gun handle slowly and steadily. You’ll feel resistance as the internal mandrel pulls the rivet body together. Keep squeezing until the stem breaks off with a distinct snap or click. This snap indicates the rivet is fully set and compressed.
Release the gun and remove it from the rivet. Inspect the newly installed rivet immediately. The rivet head should be flush against the handle with no gaps or wobbling. Run your finger over it to confirm it sits evenly.
If the rivet feels loose or the head isn’t flush, you may need to remove it and try again with a fresh rivet. Partially set rivets won’t hold under stress.
Apply your waterproof sealant around the rivet head’s edges now. This extra layer prevents moisture from seeping into the hole and causing rust or future corrosion. Let the sealant cure fully before using your generator handle.
Your replacement rivet is now complete and ready for regular use.
Testing and Verifying Handle Stability After Repair
After installing your replacement rivet, you need to verify that the handle is truly stable and secure. This testing phase prevents future failures and ensures your portable solar generator is safe to transport.
Start by gently wiggling the handle from side to side. You should feel no movement at all where the rivet connects to the generator body. Any flex or play indicates the rivet wasn’t set properly. If you detect movement, the rivet may need removal and reinstallation.
Next, apply downward pressure on the handle as if you’re carrying the generator. Press firmly for several seconds. The handle should not shift, creak, or make any sounds. Listen carefully during this test. Creaking or clicking often signals an incomplete rivet set.
Try lifting the entire generator by the handle slowly. Gradually increase the weight you’re applying over ten seconds. Watch the rivet area closely for any separation between the rivet head and the handle material. Stop immediately if you notice gaps forming.
Inspect the rivet visually from multiple angles. The rivet head should sit completely flush against the handle surface. Check for any cracks radiating from the rivet hole. Cracks mean the rivet wasn’t installed correctly or the hole was damaged.
Test the handle multiple times over the next few days. Sometimes rivets settle slightly after initial installation. Recheck stability after a few hours and again the next day.
If your testing reveals instability, don’t ignore it. Remove the rivet and try again with a fresh one. Proper rivet installation requires practice. Your safety depends on a secure handle connection every single time you transport your generator.
Pro Tips for a Long-Lasting Rivet Repair
Keeping your rivet repair strong requires attention to detail both during installation and afterward. Start with the right rivet type. Match the original specifications exactly. Using the wrong size or material causes premature failure. Your generator manual lists the correct specifications, so check it before purchasing replacements.
Apply sealant strategically. Moisture is the enemy of rivets. Waterproof sealant around the rivet head prevents water from seeping into the hole. This simple step dramatically extends rivet life. Apply the sealant before and after installation for maximum protection.
Master your rivet gun technique. Squeeze the handle slowly and steadily. Rushing the process creates weak connections. The rivet should sit flush against the handle surface with no gaps. If you see daylight between the rivet head and handle, the connection isn’t complete.
Inspect regularly. Check your repaired handle every few weeks during the first month. Look for any movement or separation. Wiggle the handle gently to feel for looseness. Catch problems early before they cause safety issues.
Consider alternatives for future repairs. Rivnuts and screw and nut combinations offer better durability than standard pop rivets. These fasteners allow you to retighten connections over time. They work especially well if your generator experiences heavy use.
Store your generator properly. Dry storage prevents moisture from attacking your repair. Keep the generator indoors or under a waterproof cover. Avoid leaving it in damp conditions between uses.
Document your work. Note the repair date and rivet specifications. This record helps you track the repair’s performance and informs future maintenance decisions.
Common Mistakes That Lead to Repeat Rivet Failure
Many people repeat rivet failures because they make the same installation mistakes over and over. Understanding these errors helps you avoid the cycle.
Using the wrong rivet size or type is the biggest culprit. Your original rivet has specific dimensions. If you grab a rivet that’s slightly different, it won’t seat properly in the hole. The new rivet becomes loose quickly, and you’re back to square one within weeks.
Improper rivet gun technique causes premature failure too. Some people squeeze the gun handle too fast or don’t hold it steady. This creates an uneven set where the rivet head doesn’t compress fully against the handle. A weak connection fails under the stress of carrying your generator.
Skipping sealant application leads to moisture problems. Water creeps into the rivet hole and corrodes the fastener from inside. The rivet weakens silently until it pops again. Sealant acts as a barrier against this moisture infiltration.
Not cleaning the hole thoroughly before reinstalling is another repeat mistake. Dust, corrosion, or debris inside the hole prevents the new rivet from seating flush. This gap creates movement, and movement destroys the connection.
Ignoring alternative fastening methods keeps people stuck in the rivet cycle. Some users never consider that rivnuts or screw and nut combinations offer better longevity than pop rivets. These alternatives allow you to replace fasteners if they fail again.
The key is treating each repair as a learning opportunity. Pay attention to what went wrong the first time. Use the correct specifications, apply proper technique, use sealant consistently, and clean thoroughly. These simple habits break the failure pattern permanently.
Final Thoughts
Fixing a popped rivet on your solar generator handle is a simple task. You do not need special skills or expensive tools to get it done.
Most people finish this repair in under thirty minutes. The process just requires patience and attention to detail.
Remember that rivet size matters more than anything else. A rivet that fits poorly will fail again, no matter how careful you are.
Sealant is your best friend in this repair. It keeps moisture away from the metal and stops rust before it starts.
If you find yourself replacing rivets often, think about switching to rivnuts or screw and nut combinations. These options often last longer than standard pop rivets.
Your generator handle carries real weight. A weak rivet puts your device and your safety at risk.
Testing your repair is not optional. Always check the handle before you trust it with a heavy load.
Regular inspection helps you catch problems early. A quick glance every few weeks can save you from bigger headaches later.
Storing your generator properly also protects your repair work. Keep it away from extreme heat or moisture when possible.
This kind of fix is something most owners can handle themselves. You do not need a professional for a simple rivet swap.
With the right tools and a bit of care, your handle repair should hold up well. Take your time, follow each step, and check your work twice.
A stable handle means a safer generator. That peace of mind is worth the small effort this repair takes.
Frequently Asked Questions
Why does my solar generator handle rivet keep popping out?
Rivets fail for several reasons. Moisture infiltration is the main culprit, especially if you skip sealant during installation. Poor rivet gun technique also causes premature failure. If you use the wrong rivet size or type, the connection won’t hold under weight.
Inadequate hole cleaning before reinstalling creates weak spots. Storing your generator in damp conditions accelerates corrosion around the rivet. Each time you carry your generator, the handle experiences stress that weak rivets cannot handle.
Can I replace the rivet with a different fastener?
Yes, you have better options. Rivnuts offer superior durability compared to standard pop rivets. They create a threaded connection that you can tighten or loosen as needed.
Screw and nut combinations also work well. These alternatives let you inspect and maintain the connection over time. If your rivet fails repeatedly, switching to one of these methods prevents future problems.
What size rivet should I use for my generator handle?
Check your generator’s manual for the correct specifications. Most portable solar generators use quarter inch or three sixteenths inch rivets. Using the wrong size creates an unstable connection that fails quickly.
When you remove the damaged rivet, measure the hole diameter. Purchase replacement rivets that match this size exactly. Bringing the old rivet to a hardware store helps you find the right match.
How do I prevent rivets from popping in the future?
Apply sealant during installation to block moisture. Use proper rivet gun technique to set the fastener securely. Clean the hole thoroughly before inserting a new rivet.
Store your generator in a dry location away from humidity. Inspect your handle connection every few months. Catch loose rivets before they pop completely.

Hi, I’m Archie Flynn, the founder and writer behind RapidResizerHub! 👋 I’m a passionate tech enthusiast who loves exploring the latest gadgets, smart devices, and trending electronics on Amazon. Through my honest, hands-on reviews and detailed buying guides, I help readers make smarter, well-informed shopping decisions.