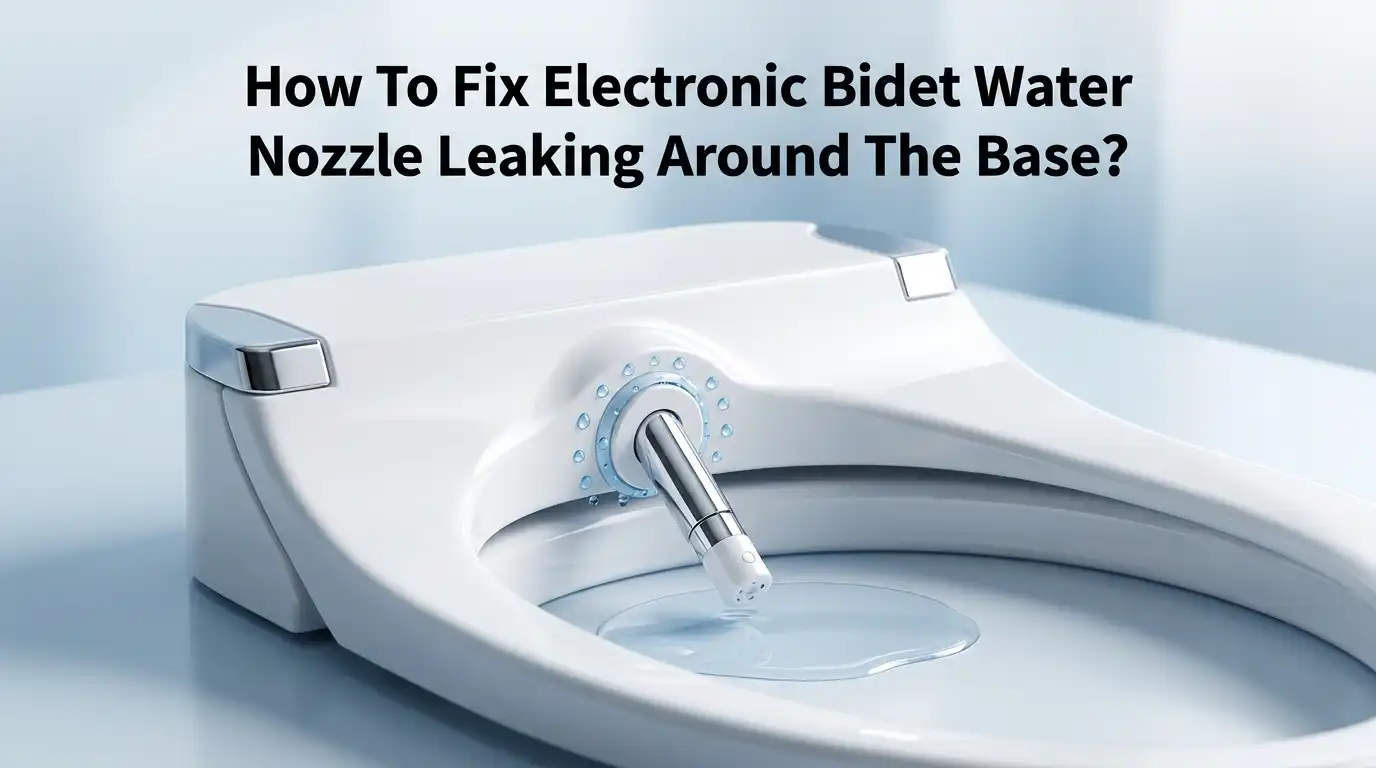
How To Fix Electronic Bidet Water Nozzle Leaking Around The Base?
A leaking bidet nozzle can turn a relaxing bathroom experience into a messy problem. Water pooling around the base often signals a loose connection or a worn seal. This issue is common, but it rarely means you need a brand new unit.
Many homeowners panic when they see water dripping from their electronic bidet. The good news is that most leaks stem from simple, fixable causes. You do not need to be a plumber to solve this problem.
In this guide, we will walk you through the most common reasons your bidet nozzle leaks around its base. We will help you identify loose fittings, damaged O rings, and worn washers.
In a Nutshell
- Check the water connection first. Most base leaks happen because the supply hose is loose. Tighten the connection with a wrench and check again.
- Inspect the rubber washer or O-ring. These small parts wear out over time. A cracked or misaligned washer often causes water to seep around the base.
- Look at the nozzle seal. The internal seal keeps water inside the unit. If it shifts or wears down, leaks can start right where the nozzle meets the base.
- Test water pressure levels. Too much pressure can force water out through small gaps. Lowering the pressure sometimes solves the issue instantly.
- Examine the mounting bolts. Loose bolts can tilt the unit slightly. This tiny shift can create just enough space for water to escape.
- Clean before you inspect. Mineral buildup can hide cracks or loose parts. A clean surface makes it easier to spot the real problem.
Why Electronic Bidet Nozzles Leak Around The Base
Electronic bidet nozzles leak around the base for several specific reasons. Understanding these causes helps you fix the problem quickly and effectively.
Water supply connections fail over time. The hose that brings water into your bidet can loosen from vibration and regular use. This is the most common leak source. Water travels down the outside of the connection rather than through the internal channels.
Rubber seals deteriorate from constant moisture exposure. O rings and washers inside your bidet get compressed and cracked after months or years of use. They no longer create a tight seal. Water finds its way past these worn parts and drips from the base.
Internal nozzle seals can develop small cracks. The seal that keeps pressurized water inside the unit may split from age or manufacturing defects. Even tiny cracks allow water to escape around the base area.
Excessive water pressure damages seals faster. When your home’s water pressure is too high, it forces water through gaps that should stay dry. The extra force stresses rubber components and causes them to fail sooner.
Mineral deposits block drainage paths. Hard water leaves calcium and lime buildup inside your bidet. These deposits prevent water from flowing where it should. Water backs up and leaks from the base instead.
Loose mounting bolts tilt the entire unit. When bolts loosen, the bidet sits at a slight angle. This misalignment breaks the seal between the nozzle and base. Water seeps out from the tilted connection point.
Cracks in the plastic housing develop from impact. If your bidet gets bumped or dropped, hairline cracks form in the base. These cracks allow water to escape during normal operation.
Tools And Materials You’ll Need Before Starting
Before you start fixing your bidet leak, gather the right supplies. You need basic tools that most homeowners already have at home.
Wrenches and adjustable tools are essential. Grab an adjustable wrench or a set of regular wrenches in different sizes. You’ll use these to tighten connections around the base and water inlet. A small pipe wrench helps grip round connections without slipping.
Screwdrivers come next. Have both flathead and Phillips head screwdrivers ready. Many electronic bidets use screws to hold panels or mounting brackets in place.
Pliers serve multiple purposes. Regular slip joint pliers let you grip and turn small parts. Needle nose pliers help you reach tight spaces around the nozzle base.
Cleaning supplies matter more than you think. Grab white vinegar, a soft brush, and clean cloths. Mineral deposits often hide the real problem, so cleaning first reveals the actual leak source.
Replacement parts should be on standby. Keep a few rubber washers and O rings in different sizes. These inexpensive items often fix leaks immediately. You can find basic O ring assortments at most hardware stores.
Towels and buckets protect your bathroom floor. Place towels under the bidet before you start work. Keep a bucket nearby to catch water drips.
Flashlight or headlamp improves visibility. The space under a bidet is dark and cramped. A light source helps you see connections clearly and spot cracks in seals.
Your bidet’s manual is invaluable. Keep it nearby during repairs. The manual shows you exactly where connections are located and what tools fit properly.
Step-By-Step: Diagnosing The Source Of The Leak
Start your diagnosis by turning off the water supply to your bidet completely. This prevents water from spraying while you work and keeps your bathroom dry.
Next, locate where the water enters your bidet unit. Follow the supply line from your toilet’s water valve to the bidet connection point. Look for visible water droplets or wet spots around this area. Use your flashlight to see into tight spaces behind and under the unit.
Check if water pools at the base immediately after you use the bidet or only during certain functions. This timing tells you whether the leak comes from the connection or from inside the unit itself. Water that drips constantly suggests a connection problem. Water that appears only during the spray cycle points to internal seal failure.
Gently touch the base around the mounting area. Feel for moisture in spots you cannot see directly. Wipe the area dry with a towel, then watch for 10 minutes to see where new moisture appears first.
Inspect the underside of your bidet if possible. Remove any panels or covers that expose the internal components. Look for cracks in the plastic housing or visible damage to rubber parts. Check whether water beads up on the surface or soaks into materials, which indicates an active leak versus old residue.
Test the connection points by hand. Gently try to wiggle the supply hose where it connects to the bidet. If it moves even slightly, the connection is loose. Mark this spot mentally before you proceed with tightening or replacement steps.
Document what you find. Take a photo of wet areas or damage. This record helps you explain the problem if you need professional assistance later.
Step-By-Step: Fixing A Loose Or Damaged Nozzle Seal
A loose or damaged nozzle seal is one of the most common reasons your bidet leaks water around the base. The good news is that you can often fix this yourself without calling a professional.
Start by turning off the water supply to your bidet completely. This prevents water from spraying everywhere while you work. Next, locate the nozzle assembly underneath or inside your unit. Most electronic bidets have the nozzle housed in a removable cartridge or chamber.
Use your wrenches to carefully loosen the bolts that hold the nozzle seal in place. Work slowly and turn each bolt a quarter turn at a time. This prevents you from stripping the threads or cracking the plastic housing.
Once the bolts are loose enough, gently pull the nozzle assembly away from the main unit. You’ll now see the rubber seal or O ring that keeps water from escaping. Inspect this seal closely for cracks, flattening, or visible damage.
If the seal looks compressed but not cracked, you can try cleaning it first. Use a soft cloth to wipe away mineral deposits and debris. Sometimes buildup prevents a proper seal from forming.
If the seal is cracked or permanently deformed, you’ll need to replace it. Remove the old seal completely and clean the seating surface where it sits. Wipe away any mineral buildup or old rubber fragments.
Install your new seal by pressing it firmly into the groove or mounting area. Make sure it sits evenly all the way around. Then reattach the nozzle assembly and tighten the bolts in a crosshatch pattern, just like changing a car tire.
Turn the water back on and test your bidet to confirm the leak has stopped.
Step-By-Step: Reseating And Tightening The Nozzle Assembly
Once you’ve identified that your nozzle assembly needs attention, reseating and tightening it properly stops most leaks around the base. This process involves removing the nozzle, cleaning the connection points, and reinstalling everything with proper tension.
Start by turning off the water supply to your bidet. This prevents water from spraying unexpectedly while you work. Wait a few minutes to let any remaining pressure release from the system.
Locate all bolts connecting the nozzle assembly to the main bidet body. Use your adjustable wrench to loosen these bolts gradually. Turn each bolt only a quarter turn at a time, moving between different bolts rather than completely removing one first. This prevents the nozzle from tilting unevenly.
Once all bolts are loose enough, gently lift the nozzle assembly away from the base. Inspect the mounting surface carefully for debris, mineral deposits, or old seal material. Use a soft cloth or sponge to clean this area thoroughly. Hard water deposits can prevent proper seating.
Check the nozzle assembly’s contact points too. Wipe away any visible buildup or residue. A clean connection creates a watertight seal much more effectively than a dirty one.
Now reinstall the nozzle assembly by pressing it back into position. Make sure it sits flat and level against the mounting surface. Tighten the bolts in a crisscross pattern, similar to how you tighten car wheel lug nuts. This ensures even pressure around the entire assembly.
Tighten each bolt snugly but not excessively. Hand tight plus a quarter turn with your wrench is usually sufficient. Turn on the water supply and test for leaks immediately. If water still appears, you may need to replace the seal completely.
Tips For Preventing Future Base Leaks
Preventing future base leaks keeps your bidet working properly for years. Regular maintenance is your best defense against water damage and costly repairs.
Check your nozzle seal monthly to catch problems early. Look for signs of wear, cracks, or compression around the seal edges. A quick visual inspection takes only seconds and saves you from bigger issues later.
Keep the area around your bidet’s base clean and dry. Water and debris can hide early leak signs or cause new problems. Wipe down the exterior regularly with a soft cloth. This simple step helps you spot moisture before it becomes serious.
Inspect all connection points every few months. Bolts and fasteners loosen over time from vibration and temperature changes. Gently check that everything feels snug without forcing anything. Loose connections are the leading cause of base leaks.
Monitor your water pressure regularly. High pressure can strain seals and connections. If your bidet suddenly starts leaking after you increase water pressure, reduce it back to normal levels.
Replace seals before they fail completely. Most seals last 3 to 5 years with normal use. Don’t wait until you see water pooling around the base. Preventive replacement costs far less than emergency repairs.
Keep your bidet’s manual nearby for reference. It contains specific maintenance schedules for your model. Different bidet types have different needs, and your manual explains them clearly.
Turn off the water supply when you won’t use your bidet for extended periods. This reduces pressure on all seals and connections. It’s an easy way to prevent leaks while you’re away.
These simple steps keep your bidet functioning smoothly and protect your bathroom from water damage.
Common Mistakes To Avoid During The Repair
Many people make simple mistakes that turn a small leak into a bigger problem. Avoiding these errors saves you time, money, and frustration.
The first mistake is overtightening bolts. You might think squeezing them harder stops the leak better. Actually, this damages the seal and cracks the nozzle assembly. Tighten bolts just enough so they don’t move. Stop when you feel resistance.
Another common error is skipping the water supply step. Some people try fixing the nozzle while water still flows through the system. This makes the job messy and prevents you from seeing the real problem clearly.
Don’t ignore the condition of old seals. People sometimes reinstall damaged seals thinking they’ll work again. A cracked or compressed seal won’t seal properly no matter how tight you make the bolts. Replace it instead of reusing it.
Mixing up bolt sizes is another mistake. Your bidet has different sized bolts for different parts. Using the wrong bolt can strip threads and create new leaks. Keep bolts organized by location so you reinstall them correctly.
Many people forget to check the contact surfaces. If dirt, mineral deposits, or debris sit on the mounting area, the seal won’t fit properly. Clean these surfaces with a soft cloth before reassembling anything.
Rushing through the process causes most problems. Take your time and follow each step carefully. Work slowly so you don’t accidentally damage components.
Finally, don’t skip the test phase. After you finish repairs, turn the water back on slowly and watch for leaks. Catching issues immediately prevents water damage to your bathroom floor and walls.
Troubleshooting Persistent Leaks After Repair
When leaks continue after you’ve completed repair steps, your bidet needs systematic troubleshooting. Start by identifying where water actually exits the base. Water sometimes travels along internal pathways before appearing, so the visible leak point may not be the real problem source.
Turn off the water supply again and dry the entire base thoroughly. Let it sit for 30 minutes to ensure complete dryness. Then turn the water back on slowly and watch carefully. Mark exactly where moisture first appears. This tells you which connection or seal actually failed.
Check if water comes from the same spot or a new location. Multiple leak points suggest a deeper issue with the bidet’s internal water distribution system. In this case, the problem extends beyond simple seal replacement.
Inspect the nozzle assembly’s underside closely. Sometimes debris or mineral buildup blocks proper seating. Calcium deposits and sediment prevent seals from creating watertight connections. Clean the contact surfaces with a soft cloth and white vinegar solution.
If leaking persists after cleaning, the nozzle assembly itself may have internal cracks or damage. Water can travel through hairline fractures and exit at the base even though the seal appears intact.
Test your water pressure next. Excessive pressure forces water past seals that would normally hold. Most bidets function best between 20 and 80 PSI. Higher pressure requires professional adjustment.
Consider whether the leak started suddenly or gradually worsened. Gradual leaks often mean seal degradation. Sudden leaks suggest something shifted or cracked. This distinction helps you understand what repair approach works best.
If problems continue, the bidet’s internal valve system may need professional inspection. Some leaks point to issues beyond typical homeowner repairs.
Final Thoughts
Fixing a leaking bidet nozzle base doesn’t require special skills. Most leaks come from loose bolts, worn seals, or dirty contact surfaces. You can solve these issues with basic tools and patience.
Start with the simplest fix first. Check the bolts before you assume the seal needs replacing. Sometimes a quick tightening solves everything.
If tightening doesn’t work, move to seal replacement. This process takes only a few minutes once you know the steps. Keep spare seals on hand for quick fixes.
Patience matters more than speed during this repair. Rushing leads to stripped bolts or misaligned parts. Slow down and check each step before moving forward.
Remember that water damage spreads quickly if you ignore small leaks. What starts as a minor drip can damage your bathroom floor or subfloor over time. Address leaks the moment you notice them.
Your bidet should give you years of reliable service. Regular checks and quick repairs keep it running smoothly. Small maintenance tasks now save you bigger headaches later.
If you’ve tried every step and the leak continues, don’t feel discouraged. Some issues need a trained plumber’s attention. There’s no shame in calling for help when a problem goes beyond basic repairs.
Trust your instincts about your bidet’s condition. You know how it normally sounds and functions. Any unusual noise or persistent moisture deserves attention right away.
With the right approach, you can handle most base leaks yourself. Keep your tools ready and your manual within reach. Your bidet will reward your care with dependable, leak free performance for a long time.
Frequently Asked Questions
Why does my bidet leak only when I use hot water?
Hot water causes expansion in the internal seals and connections. When water heats up, materials expand slightly, which can open tiny gaps around the nozzle base. Cold water doesn’t create this expansion, so the leak stops when you switch temperatures.
Check your water temperature settings first. If the leak only happens with hot water, the seal may be worn but still functional for cold water. You might need to replace the seals sooner rather than later. Thermal expansion is completely normal, but it signals that your seals are near the end of their lifespan.
Can I use plumber’s tape to stop the leak temporarily?
Plumber’s tape (also called thread seal tape) works on threaded connections but won’t help with base leaks. The base leak comes from where the nozzle assembly connects to the bidet body, not from threaded pipes.
Temporary solutions like tape won’t address the real problem. You’ll still need to replace the seals eventually. Using tape might hide the leak visually, but water will continue escaping underneath and damage your bathroom floor. It’s better to fix it properly now than deal with water damage later.
How do I know if the leak is from the nozzle or the water line connection?
Dry the entire base completely with a towel. Then run water through the bidet. Watch carefully to see exactly where water appears first.
If water drips from the nozzle assembly itself, that’s your leak source. If water comes from where the supply line connects to the bidet, you have a different problem. The location tells you which part needs attention.
What happens if I ignore a small leak?
Water seeps into the bidet’s base and surrounding areas. Over time, this moisture reaches wooden bathroom cabinets and flooring. Mold and mildew grow in hidden spaces. Structural damage becomes expensive and difficult to repair.
Small leaks become big problems fast. Act quickly when you notice dripping.

Hi, I’m Archie Flynn, the founder and writer behind RapidResizerHub! 👋 I’m a passionate tech enthusiast who loves exploring the latest gadgets, smart devices, and trending electronics on Amazon. Through my honest, hands-on reviews and detailed buying guides, I help readers make smarter, well-informed shopping decisions.