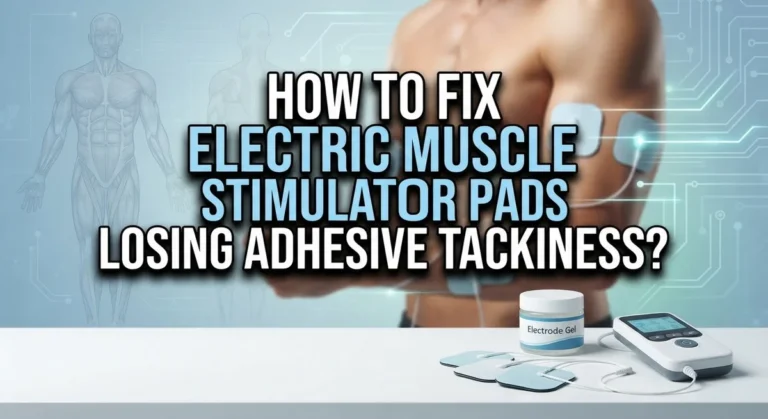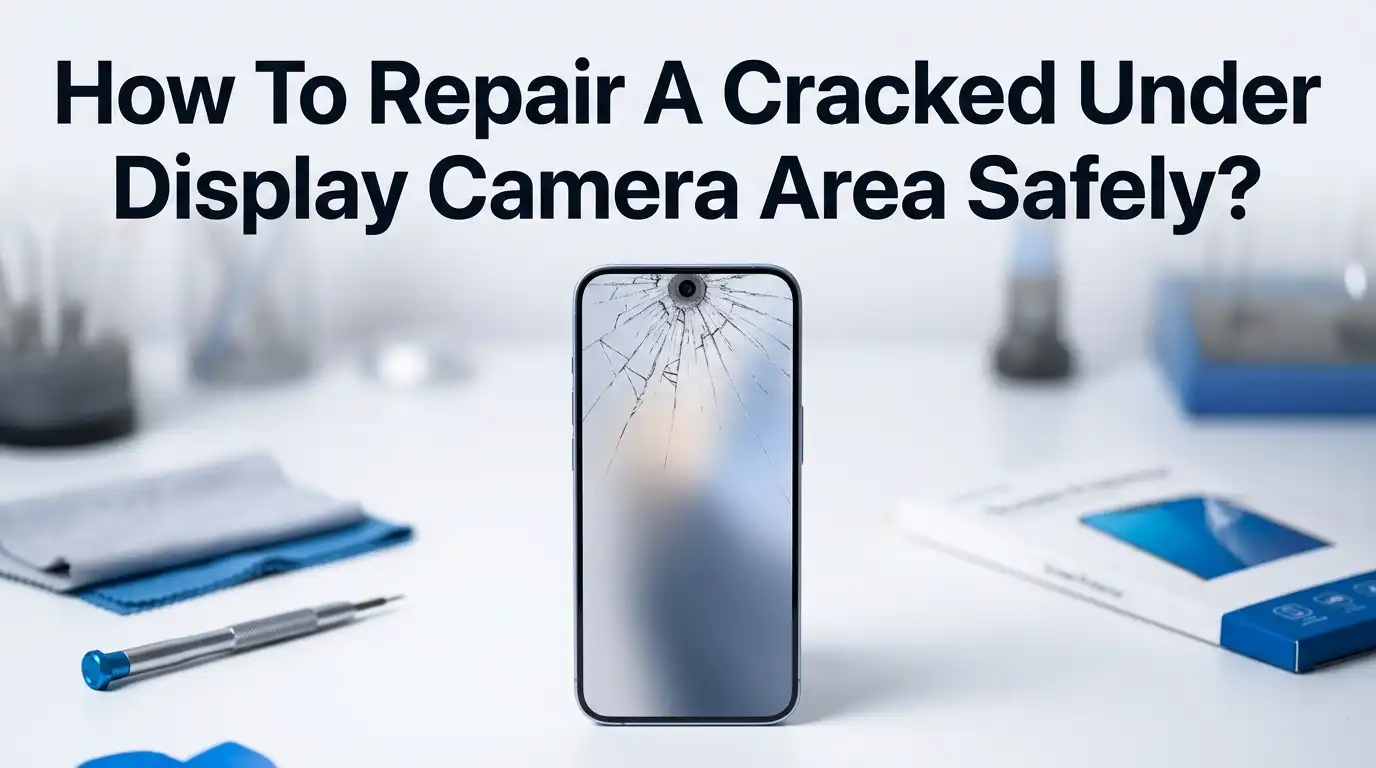
How To Repair A Cracked Under Display Camera Area Safely?
You just noticed a crack right over your phone’s under display camera. Your selfies look foggy. Video calls show strange light streaks. And you are worried the damage will spread.
You are not alone. Thousands of smartphone users deal with this exact problem every year, especially on devices like the Samsung Galaxy Z Fold series, ZTE Axon phones, and other models that place the front camera beneath the screen glass.
The good news? You can fix this. The bad news? Doing it wrong can turn a small crack into a dead camera or a ruined display. This guide will walk you through every method available, from quick temporary fixes to full screen replacements.
In a Nutshell
- First, identify the severity of the crack. A hairline crack that does not affect camera quality may only need a temporary fix. A spiderweb crack with visible debris inside the camera area will likely need a full screen replacement.
- Second, understand that under display cameras sit directly beneath the glass panel. This means any repair work on the cracked area puts the camera sensor at risk if you are not careful.
- Third, DIY repairs can save money but carry real risks. You could void your warranty, damage the OLED panel, or scratch the camera lens permanently.
- Fourth, professional repair shops have tools and parts that most people do not have at home, including temperature controlled heat stations and genuine replacement screens.
- Fifth, prevention matters just as much as repair. A quality screen protector and a case with raised edges can stop this problem before it starts.
- Sixth, the cost of repair varies widely. A DIY glass fix might cost under $30, while a professional screen replacement on a flagship phone can run anywhere from $150 to $400 or more.
What Is an Under Display Camera and Why Does It Crack
An under display camera (UDC) is a front facing camera placed beneath the phone’s screen. Instead of sitting in a notch or punch hole cutout, the camera hides behind a small section of the display. Samsung, ZTE, and other manufacturers use this design to create a full, uninterrupted screen.
The glass above the UDC area is the same panel that covers the rest of your display. It has no extra reinforcement. When your phone drops or takes a direct hit, this section can crack just like any other part of the screen. The difference is that a crack here directly affects your front camera’s performance. Light enters the crack and scatters across the sensor, causing glare, haze, and blurry images.
ZTE introduced the first commercial UDC phone with the Axon 20 5G. Samsung followed with the Galaxy Z Fold 3 and continued the technology through the Fold 4, Fold 5, and Fold 6. These devices place the UDC on the inner foldable display, which adds extra fragility to the equation.
How a Crack in the UDC Area Affects Your Phone
A crack over the under display camera does not just look bad. It creates real functional problems that get worse over time. The first issue is image quality. Even a thin crack refracts light before it reaches the camera sensor. Your selfies will show haze, bright streaks, or soft focus that no amount of lens cleaning can fix.
The second issue is dust and moisture. A cracked screen loses its seal. Tiny particles can enter through the crack and settle on or near the camera sensor. Moisture from humidity, rain, or even your breath during a phone call can fog the sensor area. Over time, this can cause permanent spots on your photos.
The third issue is structural weakness. A crack spreads. Temperature changes, pressure from your pocket, or another minor bump can extend the crack across more of your display. What starts as a small line over the camera can become a full screen replacement job within weeks.
Assess the Damage Before You Start
Before you pick up any tools or drive to a repair shop, take five minutes to evaluate the crack. This step saves you from choosing the wrong repair method. Start by opening your front camera app. Take a photo in good lighting and examine it closely. Look for blur, streaks, dark spots, or uneven lighting.
Next, run your finger gently over the crack. Can you feel a gap or raised edge? If glass fragments are loose or lifting, you need to act quickly. Loose shards can fall inward and scratch the camera lens or the OLED layer beneath. If the crack is a single hairline with no displacement, a temporary fix may hold until you can get a proper repair.
Check if your phone’s touch response works normally near the crack. A crack that disrupts touch input means the digitizer layer is damaged, and you will need more than a surface fix. Also check your warranty status. Many manufacturer warranties cover accidental damage if you purchased an extended plan.
Temporary Fixes to Protect the Camera Area
If you cannot get a full repair right away, a temporary fix can prevent further damage. The goal here is to seal the crack, not to restore the screen. These methods buy you time.
Clear screen protector film is the simplest option. Cut a piece to cover the cracked area and press it down firmly. This keeps glass shards in place and blocks dust from entering. It will not improve photo quality, but it stops the crack from spreading.
Clear nail polish is another popular temporary solution. Apply a thin layer directly over the crack and let it dry completely. The polish fills the crack line and hardens, creating a basic seal. However, it can leave a slight residue that is hard to remove later.
LOCA (Liquid Optically Clear Adhesive) UV resin is a more advanced option. You apply the liquid resin over the crack and cure it with a UV light. It fills the crack more completely than nail polish and dries optically clear. The downside is that excess resin can seep into the display edges if you apply too much.
Pros of temporary fixes: Low cost, fast, and easy to do at home. They prevent further damage while you arrange a proper repair.
Cons of temporary fixes: They do not restore camera clarity. They can leave residue. They are not permanent solutions.
DIY Screen Replacement for the UDC Area
If you are comfortable working with small electronics, you can replace the screen yourself. This is the only DIY method that fully restores both the display and camera quality. You will need a replacement screen assembly that matches your exact phone model, a heat gun or hair dryer, plastic pry tools, precision screwdrivers, and isopropyl alcohol.
Step one: Power off your phone and remove the SIM tray. Step two: Apply gentle heat around the edges of the screen to soften the adhesive. Keep the temperature between 60 and 80 degrees Celsius. Step three: Insert a thin plastic pry tool between the screen and the frame. Work slowly around the edges to separate the screen. Never use metal tools near the display. They scratch and crack glass instantly.
Step four: Disconnect the ribbon cables that link the screen to the motherboard. Step five: Remove the old screen and clean all adhesive residue with isopropyl alcohol and a microfiber cloth. Step six: Connect the new screen’s ribbon cables, apply fresh adhesive strips, and press the new screen into place.
Pros of DIY screen replacement: Saves money compared to professional repair. Full restoration of display and camera function.
Cons of DIY screen replacement: High risk of damaging internal parts. Voids manufacturer warranty. Requires specific tools and a steady hand. The wrong replacement part can cause touch issues or display problems.
Professional Repair: What to Expect
A professional repair shop is the safest path to fix a cracked under display camera area. Trained technicians use specialized equipment that most people do not have at home. This includes temperature controlled heat stations, suction tools, microscope inspection lights, and manufacturer approved replacement parts.
The process at a repair shop typically takes one to three hours. The technician will inspect the full device, not just the cracked area. They check for hidden damage to the digitizer, OLED panel, camera sensor, and frame. After replacing the screen, they test touch response, camera function, and display calibration.
Repair costs vary by device. Budget and mid range phones may cost between $80 and $150 for a screen replacement. Flagship devices like the Samsung Galaxy Z Fold series can cost $250 to $450 or more due to the complexity of the foldable display. Many shops offer a warranty on the repair, usually 60 to 90 days.
Pros of professional repair: Low risk of further damage. Genuine or OEM grade parts. Warranty coverage on the repair. Full diagnostic inspection included.
Cons of professional repair: Higher upfront cost. You may need to leave your phone for several hours. Not all shops carry parts for newer UDC phones.
Using LOCA UV Resin for Crack Filling
LOCA UV resin deserves its own section because it sits between a temporary fix and a permanent one. This method works best for hairline cracks that have not damaged the OLED or digitizer layers. LOCA stands for Liquid Optically Clear Adhesive. Phone repair technicians use it to bond glass to displays during refurbishment.
To use LOCA on a crack, clean the area with isopropyl alcohol first. Apply a small amount of resin directly into the crack line. Use a toothpick or fine applicator to spread it evenly. Then cure the resin with a UV flashlight for 30 to 60 seconds. The resin hardens clear and fills the crack, which can reduce light scattering and slightly improve camera performance.
Be very careful with the amount you apply. Excess resin can flow under the screen edges and reach the OLED panel or camera sensor housing. This creates new problems that are expensive to fix. Always use less than you think you need and add more in thin layers if required.
Pros: Affordable, optically clear, strong bond, can improve camera clarity on minor cracks.
Cons: Risky if over applied, does not fix structural damage, may not fully seal against moisture.
How Much Does Each Repair Method Cost
Understanding costs helps you choose the right fix for your budget. Prices vary based on your phone model, location, and the severity of the crack.
A clear screen protector or nail polish fix costs less than $5. LOCA UV resin kits run about $10 to $20 and include the resin and a UV light. A DIY screen replacement costs between $50 and $200 depending on the phone model. OLED screens for flagship phones sit at the higher end of that range.
Professional screen replacement at a third party shop typically costs $100 to $250 for most phones. Manufacturer authorized repairs cost more, often $200 to $450 for flagship devices. Samsung, for example, charges around $220 or more for a Galaxy screen repair through their mail in service. Foldable phone inner screens can reach $400 or higher.
Keep in mind that a failed DIY attempt often leads to a professional repair anyway. The total cost of a botched home fix plus a shop visit almost always exceeds the cost of going to a professional first.
Tools and Supplies You Need for a Safe Repair
Whether you choose a temporary fix or a full replacement, having the right tools matters. Using the wrong tool is the fastest way to turn a small crack into a broken display. Here is what you need for each approach.
For temporary fixes, you need isopropyl alcohol (90% or higher), a microfiber cloth, clear nail polish or LOCA UV resin, a UV flashlight (if using resin), and a screen protector film. For a full DIY screen replacement, you need a heat gun or hair dryer, plastic pry tools (never metal), a suction cup, precision screwdriver set, tweezers, replacement adhesive strips, and the correct replacement screen for your phone model.
Always work on a clean, well lit surface. Use a magnetic mat to keep tiny screws organized. Wear anti static gloves if possible to protect sensitive electronic parts from static discharge. If you do not have proper tools, do not improvise with kitchen knives, razor blades, or pliers. These will cause irreversible damage.
How to Prevent Cracks in the UDC Area
Prevention costs far less than any repair. A few simple habits can keep your under display camera area safe for years. Start with a high quality phone case that has raised edges around the screen. This creates a buffer zone that absorbs impact if you drop the phone face down.
Apply a tempered glass screen protector. Modern screen protectors are thin enough that they do not affect under display camera quality. They act as a sacrificial layer. The protector cracks instead of your actual screen. Replacing a $10 protector is much better than replacing a $300 screen.
Avoid placing your phone screen down on rough surfaces. Sand, gravel, and concrete can scratch and weaken the glass over time. Do not keep your phone in the same pocket as keys, coins, or other hard objects. Temperature extremes also weaken glass. Do not leave your phone on a hot car dashboard or expose it to freezing temperatures for long periods.
For foldable phones with internal UDC screens, close the phone when you are not using the inner display. The outer cover screen protects the fragile inner panel from accidental drops and pocket pressure.
When to Replace the Entire Screen vs. Patch the Crack
This is the decision most people struggle with. The answer depends on three factors: crack severity, camera performance, and touch function. If the crack is a single hairline that does not affect photos or touch, a LOCA resin fix or screen protector may be enough for now.
If the crack is wide, branching, or has displaced glass, you need a screen replacement. Displaced glass means fragments have shifted from their original position. This allows debris to reach the camera sensor and OLED panel. No temporary fix can address this safely.
Test your camera before and after any temporary fix. If photos still show blur, haze, or light streaks after sealing the crack, the damage has likely reached beyond the surface glass. At that point, only a screen replacement will restore full camera function. Also, if the touch screen behaves erratically near the crack, the digitizer is compromised and requires a full panel swap.
Common Mistakes to Avoid During Repair
Many people make the same errors when fixing a cracked under display camera area. Learning from these mistakes saves you time, money, and frustration. The most common mistake is using metal tools to pry glass. Metal scratches the frame, damages the OLED layer, and can sever ribbon cables.
Another frequent error is applying too much heat in one spot. Concentrated heat warps the phone frame and can permanently damage the OLED pixels beneath the glass. Always keep the heat source moving and stay below 80 degrees Celsius.
Skipping the cleaning step is another costly mistake. Old adhesive residue prevents the new screen from bonding properly. It also creates uneven spots that put stress on the glass. Take the time to clean thoroughly with isopropyl alcohol before installing any new part.
Using non genuine or incorrect replacement screens causes problems too. A screen made for a different model may fit physically but fail to calibrate properly with the phone’s software. This leads to color inaccuracies, touch dead zones, and camera alignment issues. Always verify the part number matches your exact device model before purchasing.
FAQs
Can a cracked under display camera area be fixed without replacing the whole screen?
Yes, if the crack is minor and has not affected the OLED panel or digitizer. You can use LOCA UV resin to fill the crack and seal it. However, this is a temporary solution. For full restoration of camera quality and screen integrity, a complete screen replacement is the most reliable option.
Will a screen protector hide the crack over my under display camera?
A screen protector will not hide the crack visually. It will, however, prevent the crack from spreading and block dust and moisture from entering. It is a smart first step while you decide on a permanent repair. Choose a protector that is clear and thin so it does not degrade camera performance further.
How much does it cost to fix a cracked under display camera area at a repair shop?
Costs range from $100 to $450 depending on the phone model. Standard smartphones with UDC technology cost less to repair. Foldable phones like the Samsung Galaxy Z Fold series cost significantly more because the inner display is larger and more complex. Always ask for a quote before approving the work.
Can I use super glue to fix the crack over my under display camera?
No. Super glue is not optically clear and will cloud your camera permanently. It also bonds too aggressively, making future professional repairs harder and more expensive. If you need an adhesive solution, use LOCA UV resin instead. It is designed for screen repairs and dries completely transparent.
Does repairing the cracked UDC area void my phone’s warranty?
DIY repairs almost always void the manufacturer warranty. Professional repairs at authorized service centers typically preserve your warranty. Third party repair shops may or may not affect warranty coverage depending on your region and the manufacturer’s policies. Check your warranty terms before choosing a repair path.
How long can I safely use my phone with a cracked under display camera area?
You can use it temporarily, but do not wait more than a few weeks. A crack exposes the camera sensor and internal display layers to dust and moisture. The longer you wait, the greater the chance of permanent internal damage. Apply a screen protector immediately and schedule a repair as soon as possible.

Hi, I’m Archie Flynn, the founder and writer behind RapidResizerHub! 👋 I’m a passionate tech enthusiast who loves exploring the latest gadgets, smart devices, and trending electronics on Amazon. Through my honest, hands-on reviews and detailed buying guides, I help readers make smarter, well-informed shopping decisions.